Custom Fonts
Upload your own font files directly to your WordPress site. Font Hero stores them locally so your site doesn’t depend on any external service.
Supported File Formats
| Format | Extension | Description |
|---|---|---|
| WOFF2 | `.woff2` | The modern standard. Smallest file size, supported by all current browsers. **This is the recommended format.** |
| WOFF | `.woff` | Slightly larger than WOFF2 but works in older browsers too. Good as a fallback. |
| TrueType | `.ttf` | The classic desktop font format. Largest file size, but works everywhere. Use as a last resort fallback. |
Tip: If you only have one format, use WOFF2. If you want broader compatibility, upload both WOFF2 and WOFF for the same font face.
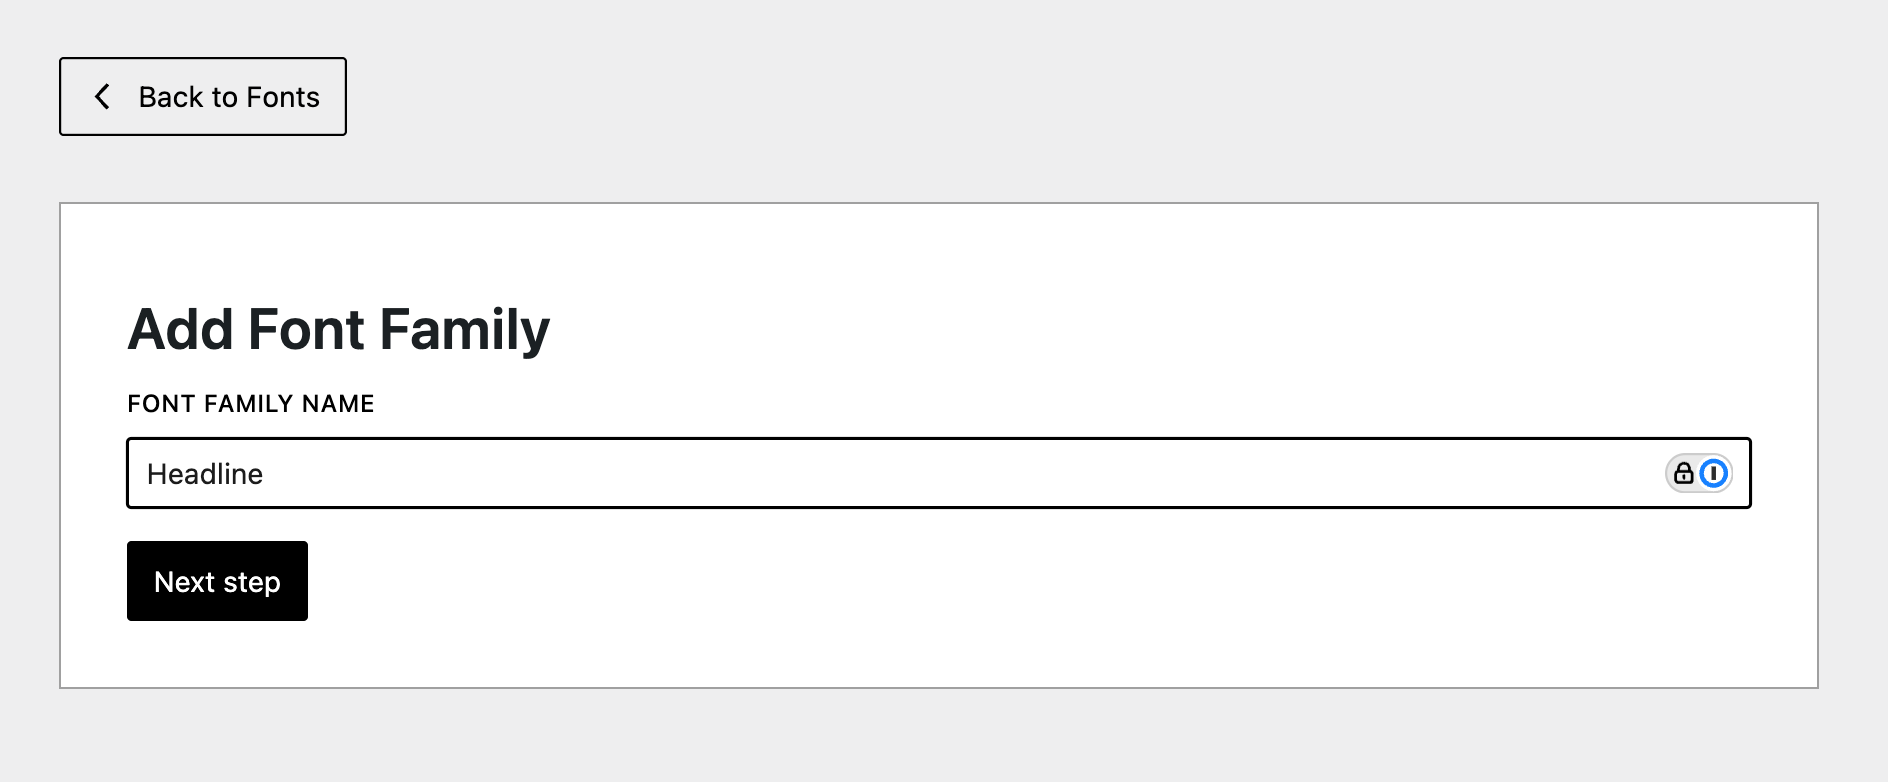
How to Upload a Custom Font
- Go to Font Hero > Fonts
- Click Add Font
- Choose Custom Font
- Enter a font family name (for example, “Inter” or “Brand Sans”)
- Upload your files in the Static or Variable tab
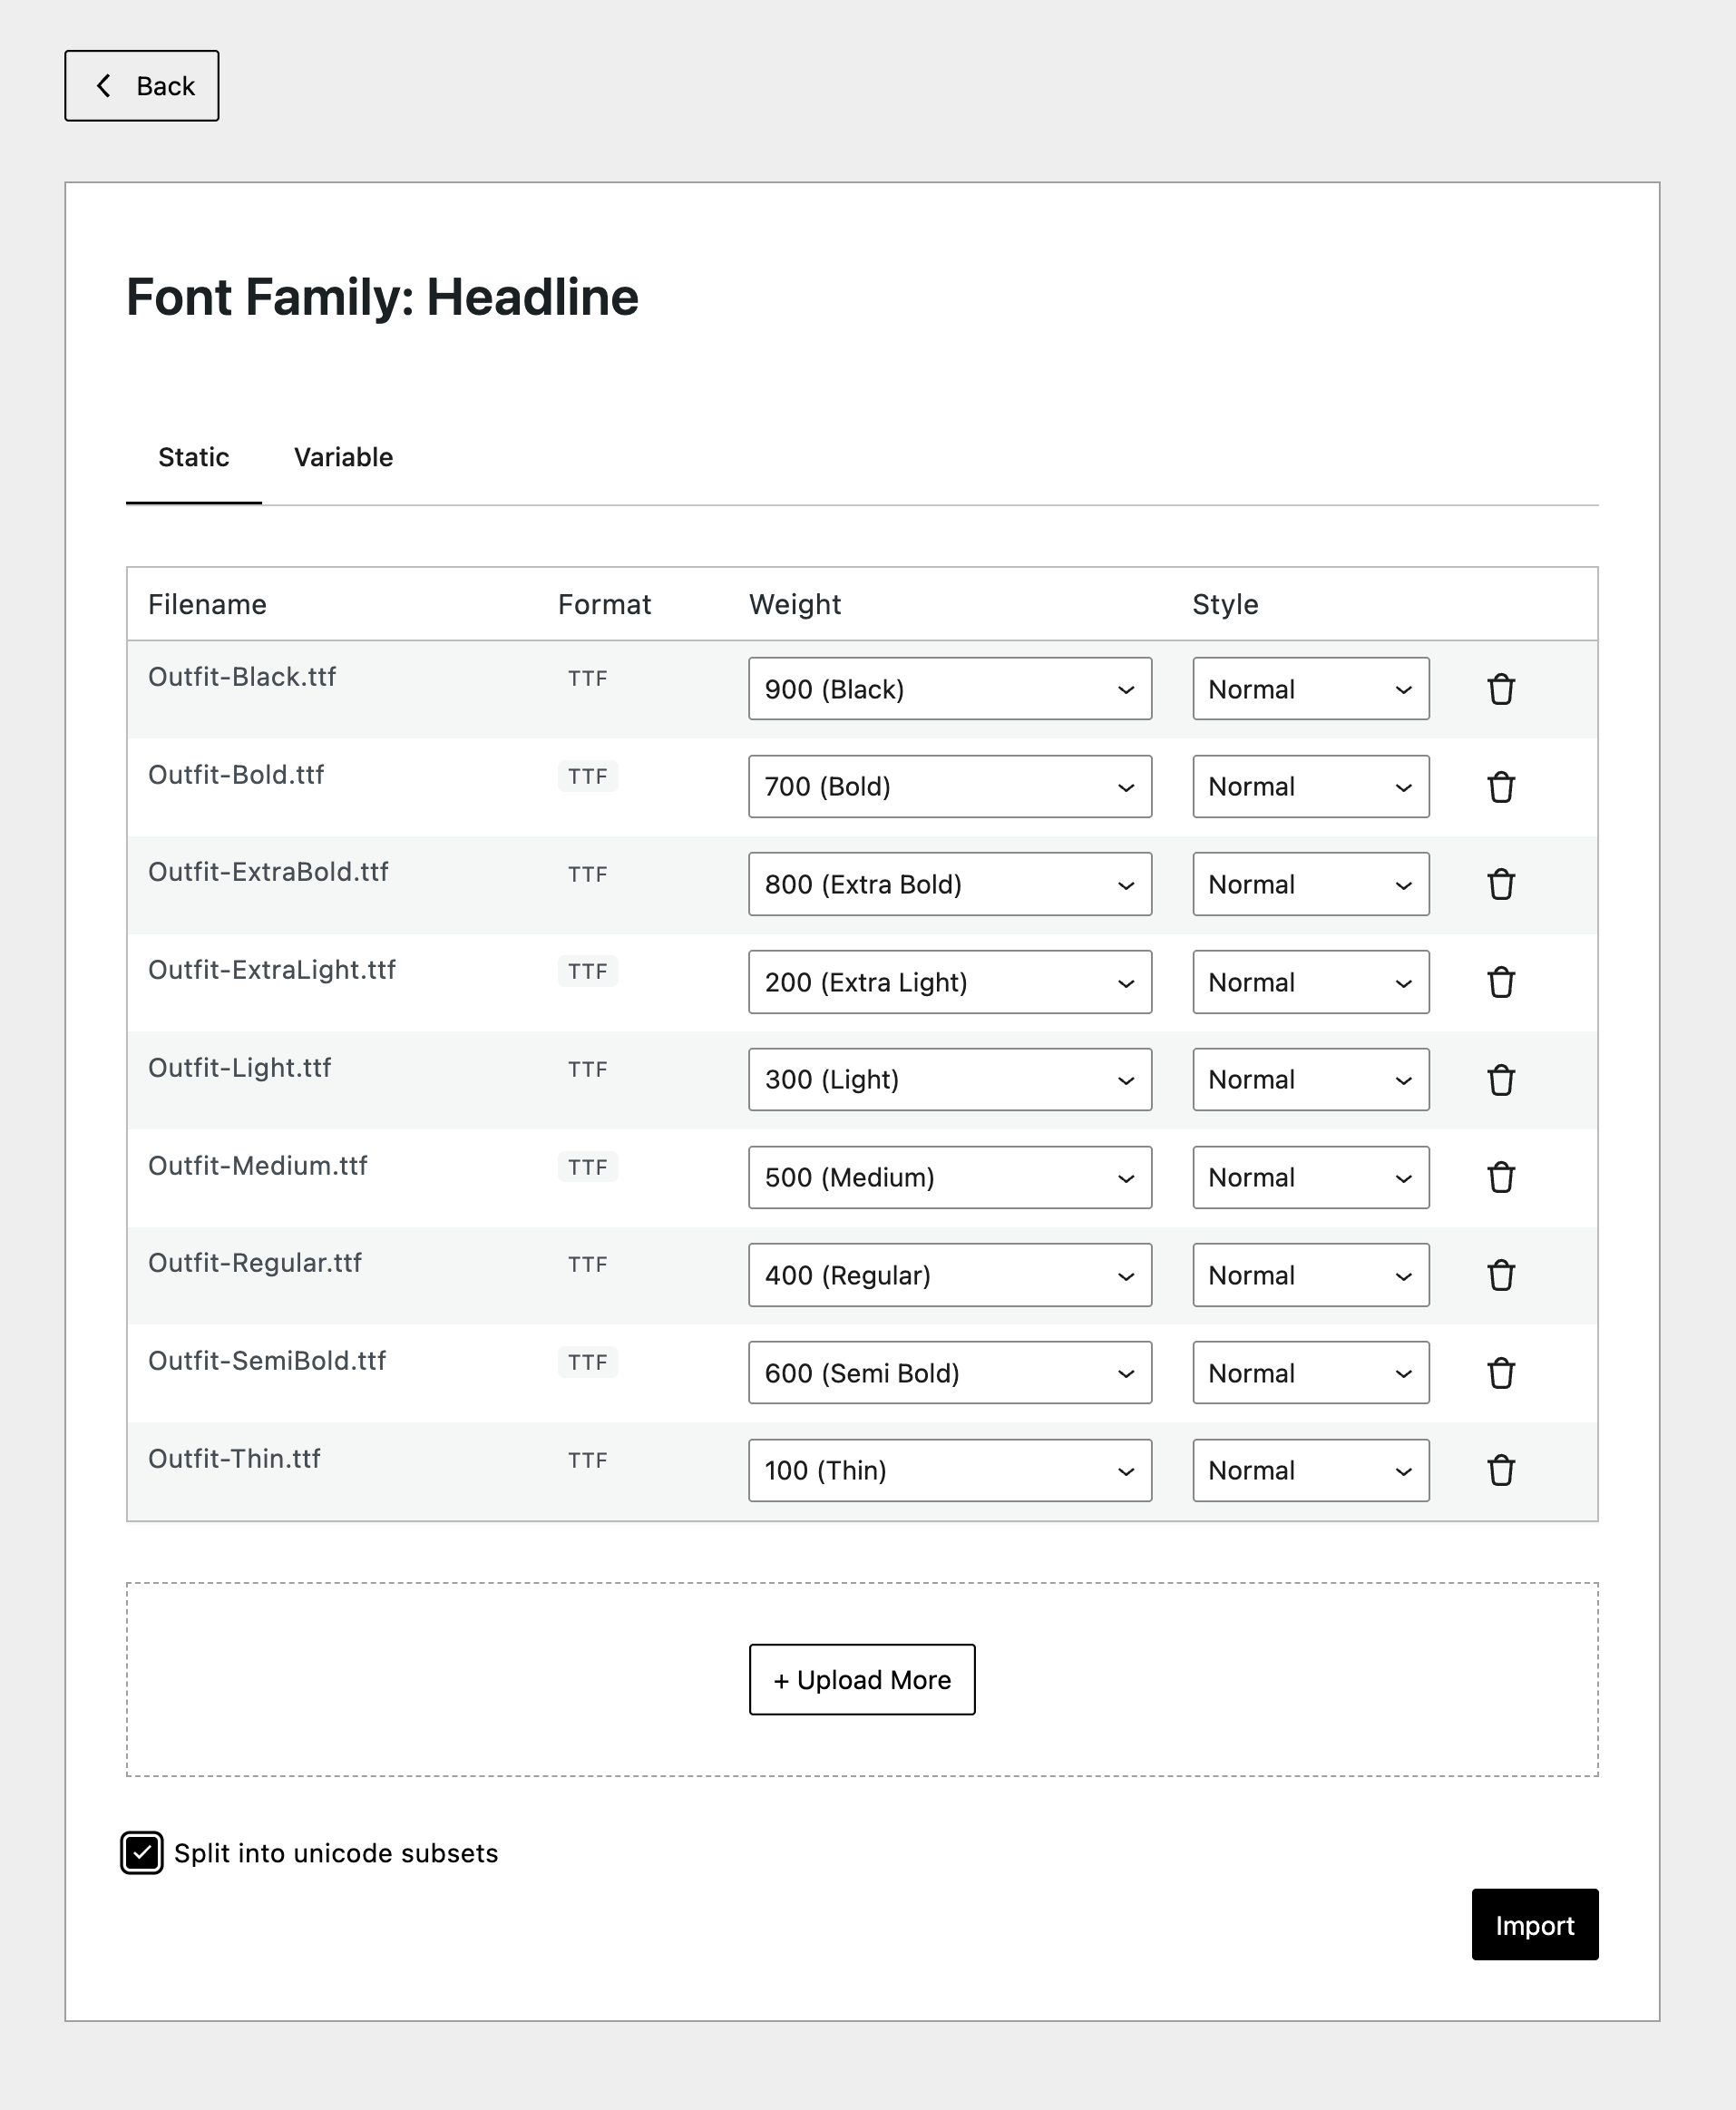
- Confirm the detected weight/style values (Font Hero detects these from filenames when possible)
- Click Import
Your font is now ready to use in your builder or theme.
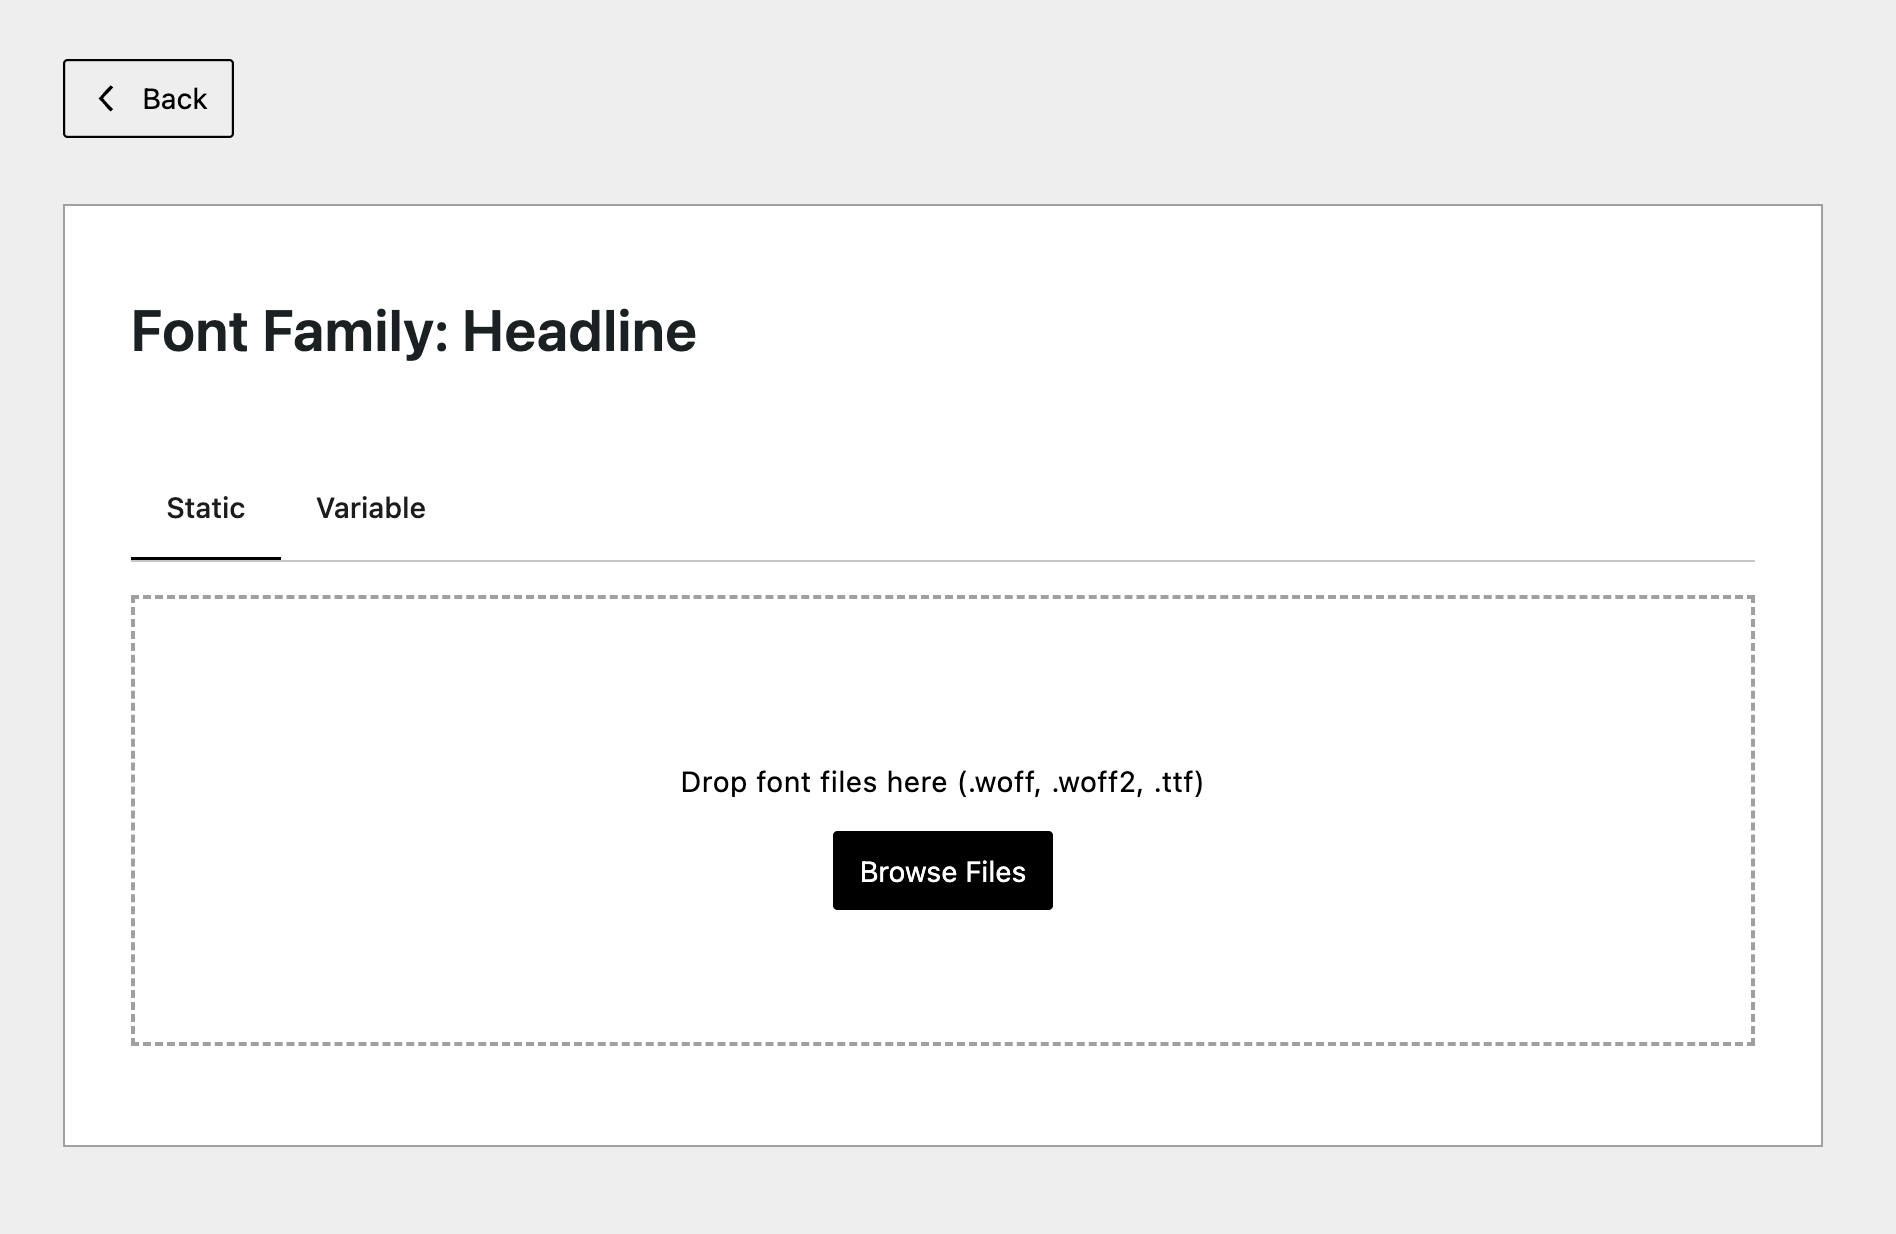
Static Fonts vs Variable Fonts
Static Fonts
A static font file contains one specific weight and style. For example:
Inter-Regular.woff2— Weight 400, NormalInter-Bold.woff2— Weight 700, NormalInter-BoldItalic.woff2— Weight 700, Italic
If you want Regular, Bold, and Italic, you need three separate files. Each file is small and focused.
Variable Fonts
A variable font packs multiple weights (and sometimes widths) into a single file. For example:
Inter-Variable.woff2— Weights 100 through 900 in one file
This means you can use any weight — 100, 250, 450, 700, or anything in between — from just one file.
When you upload a variable font, Font Hero lets you set during import:
- Weight range — The minimum and maximum weight (e.g., 100 to 900)
- Style — Normal or italic
If your variable font supports width/stretch axes, you can set the stretch range later while editing that font face.
When to use which? Variable fonts are great when you need many weights — fewer files to load. Static fonts are better when you only need one or two weights — smaller total download.
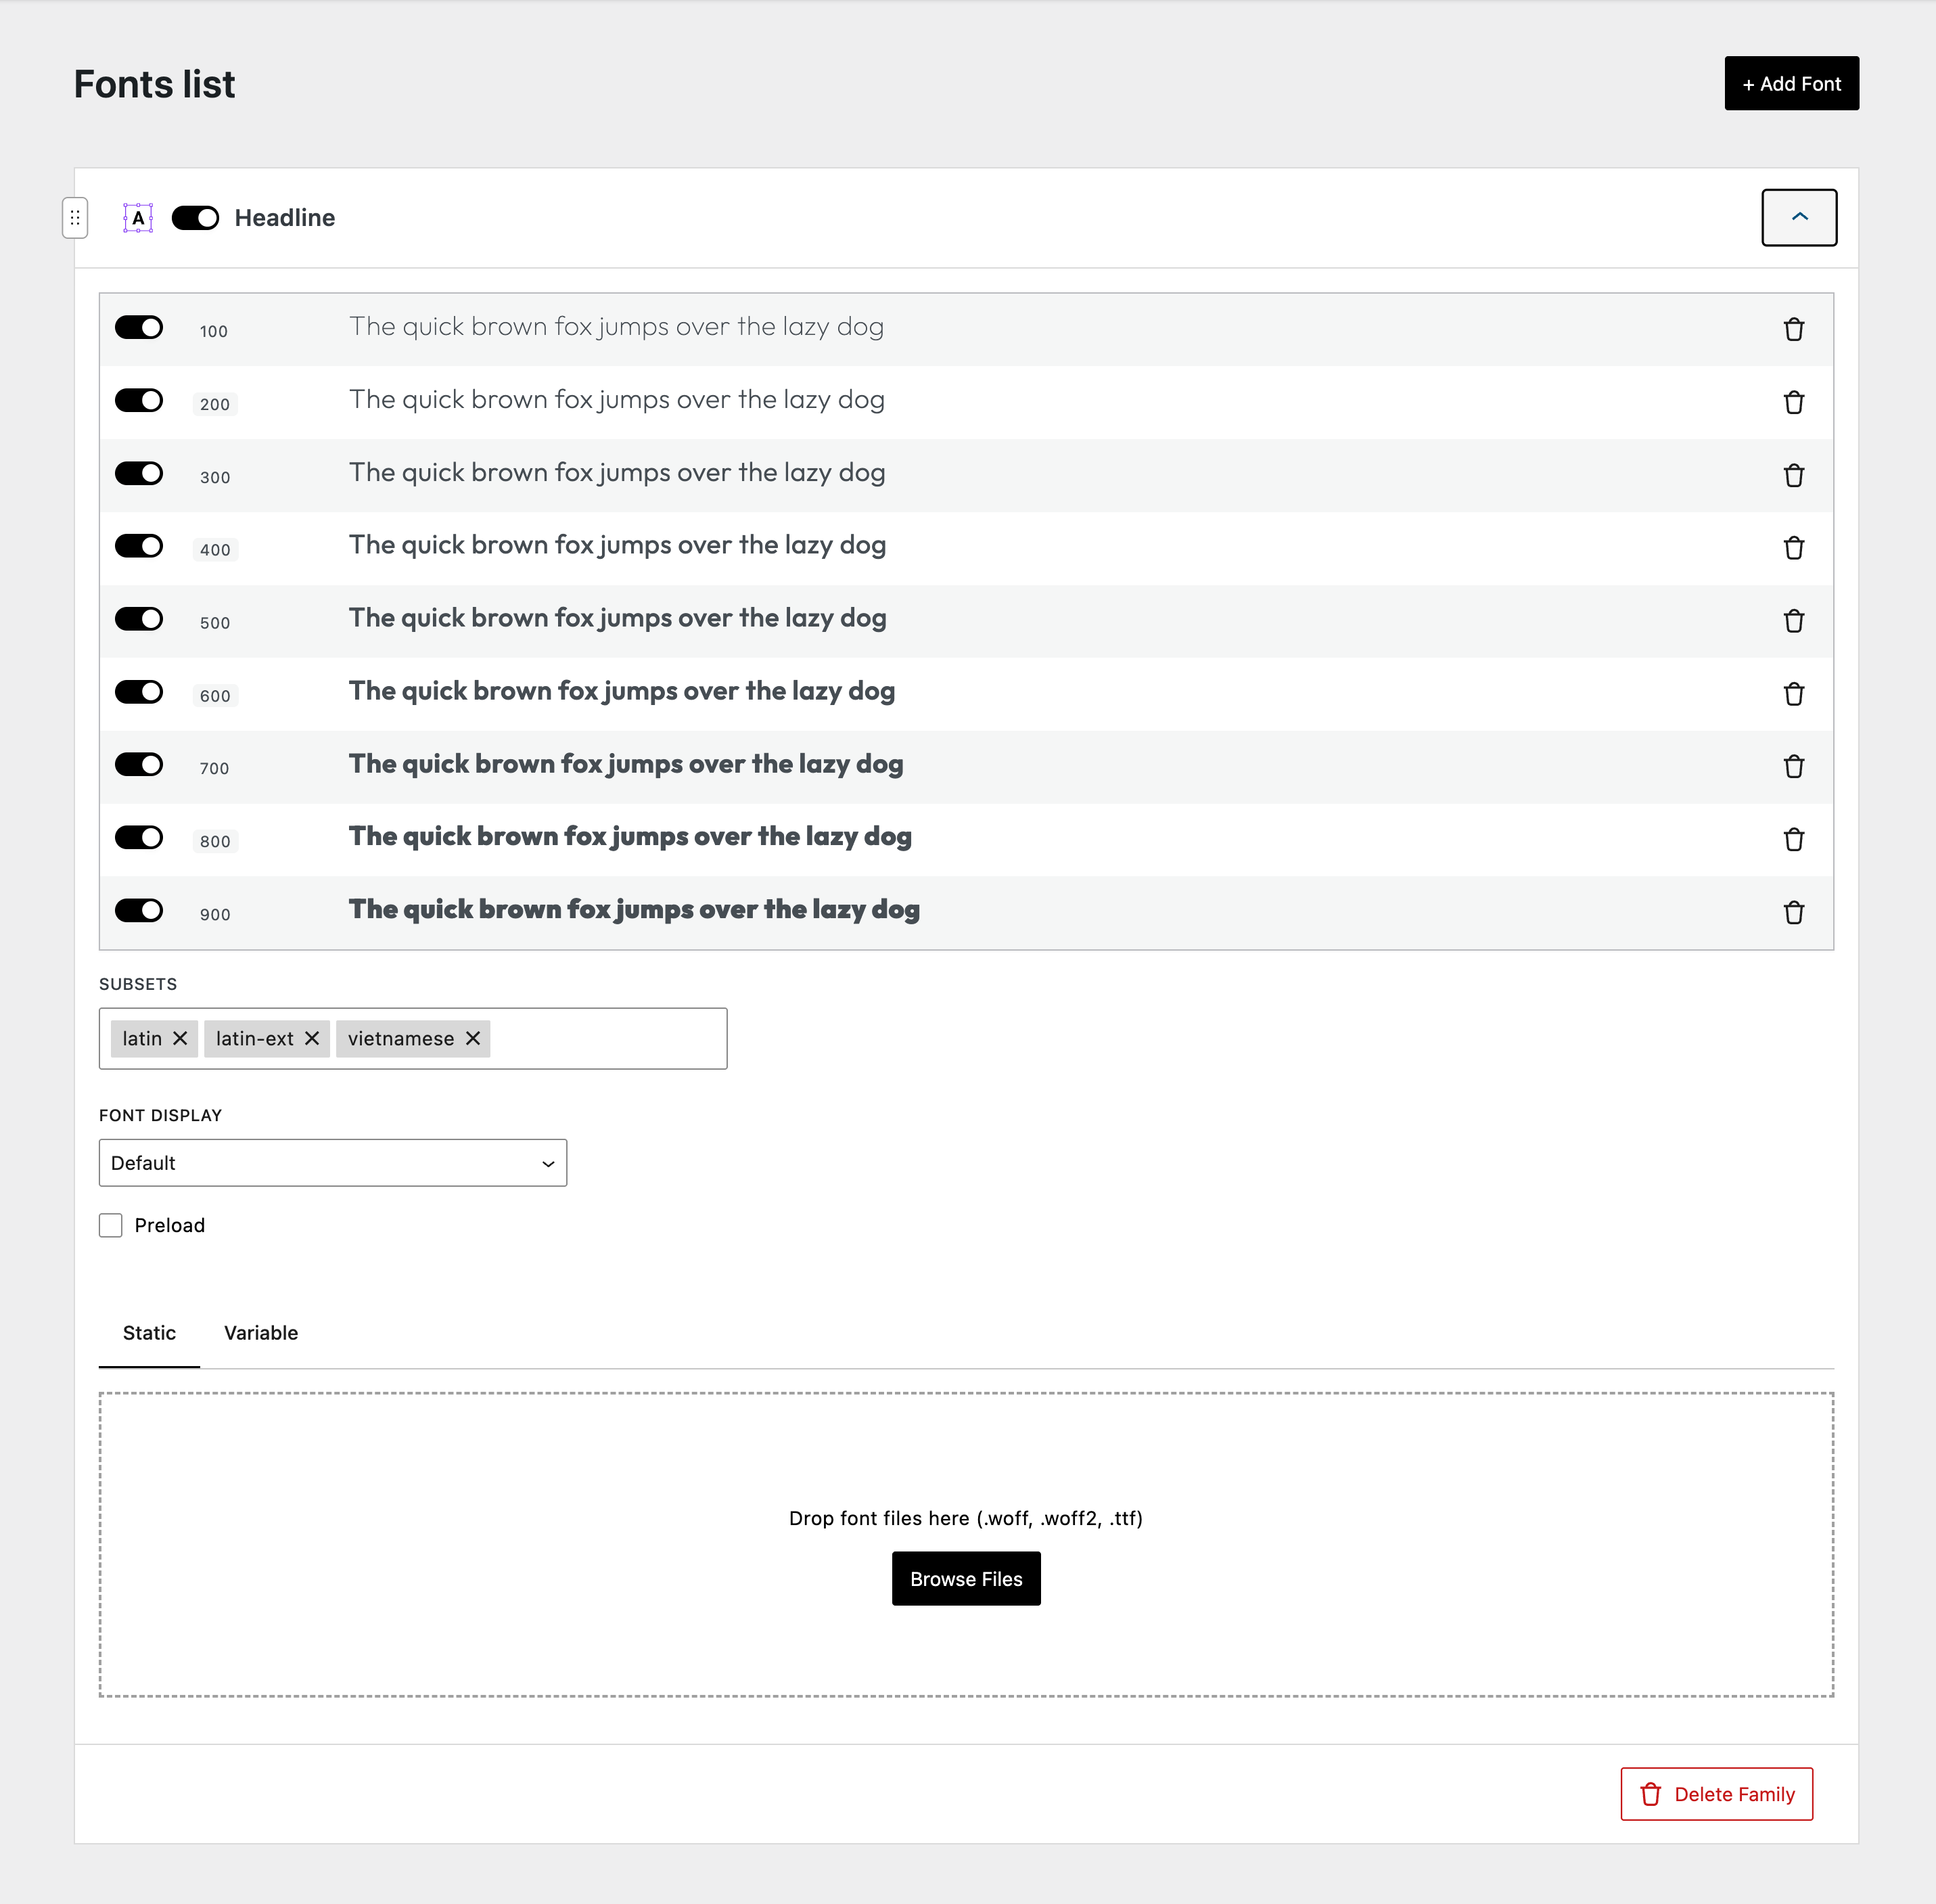
Optional: Split into Unicode Subsets
Both the Static and Variable upload flows include a Split into unicode subsets option.
Use this when you want Font Hero to generate smaller language/script subsets (for example latin, latin-ext, cyrillic) instead of storing one full file per face. It takes longer during import, but it can reduce what visitors download later.
Font Faces
Each font can have multiple font faces. A font face is a specific combination of weight and style. For example, the font “Inter” might have these faces:
| Face | Weight | Style |
|---|---|---|
| Regular | 400 | Normal |
| Medium | 500 | Normal |
| Bold | 700 | Normal |
| Bold Italic | 700 | Italic |
- Weight / weight range
- Style (normal / italic)
- Files (WOFF, WOFF2, TTF URLs)
- Font Display
- Preload
- Stretch range (variable fonts)
Font Display
Controls what happens while the font is loading:
- Swap (recommended) — Shows a system font immediately, then switches to your custom font once it’s ready. Your visitors see text right away.
- Block — Hides the text until the custom font loads. Can cause a brief flash of invisible text.
- Fallback — Shows a system font briefly. If the custom font loads quickly, it switches. If not, it keeps the system font.
- Optional — Only uses the custom font if it’s already cached from a previous visit. Best for non-essential decorative fonts.
- Auto — Lets the browser decide (usually behaves like Block).
Preload
When set to Yes, the browser starts downloading this font file immediately — even before it reads the CSS that references it. This is useful for your most important fonts (like your body text or main heading font).
Tip: Only preload 1–2 of your most important font faces. Preloading too many fonts can actually slow things down.
Stretch (Variable Fonts)
For variable fonts, you can set a stretch range (for example 75% to 125%) in the face editor if your font supports it. Most users can leave this empty unless they actively use variable width controls.
Managing Your Fonts
Enable / Disable
Each font and each individual font face has an on/off toggle. Disabled fonts won’t load on your site but they stay in your library for later use.
Rename

Double-click the font family name in the list to rename it.
Delete
Click the trash icon to remove a font. This also deletes the uploaded font files from your server.
Where Font Files Are Stored
All uploaded font files are saved to:
/wp-content/uploads/font-hero/custom/your-font-name/Font Hero generates a CSS file at:
/wp-content/uploads/font-hero/font-hero.cssThis CSS file contains all your @font-face declarations and is loaded automatically on your site.