In Font Hero, “registering a font family” simply means adding a font to your Font Hero library so it can be used in supported builders and themes.
In the current UI, this happens through:
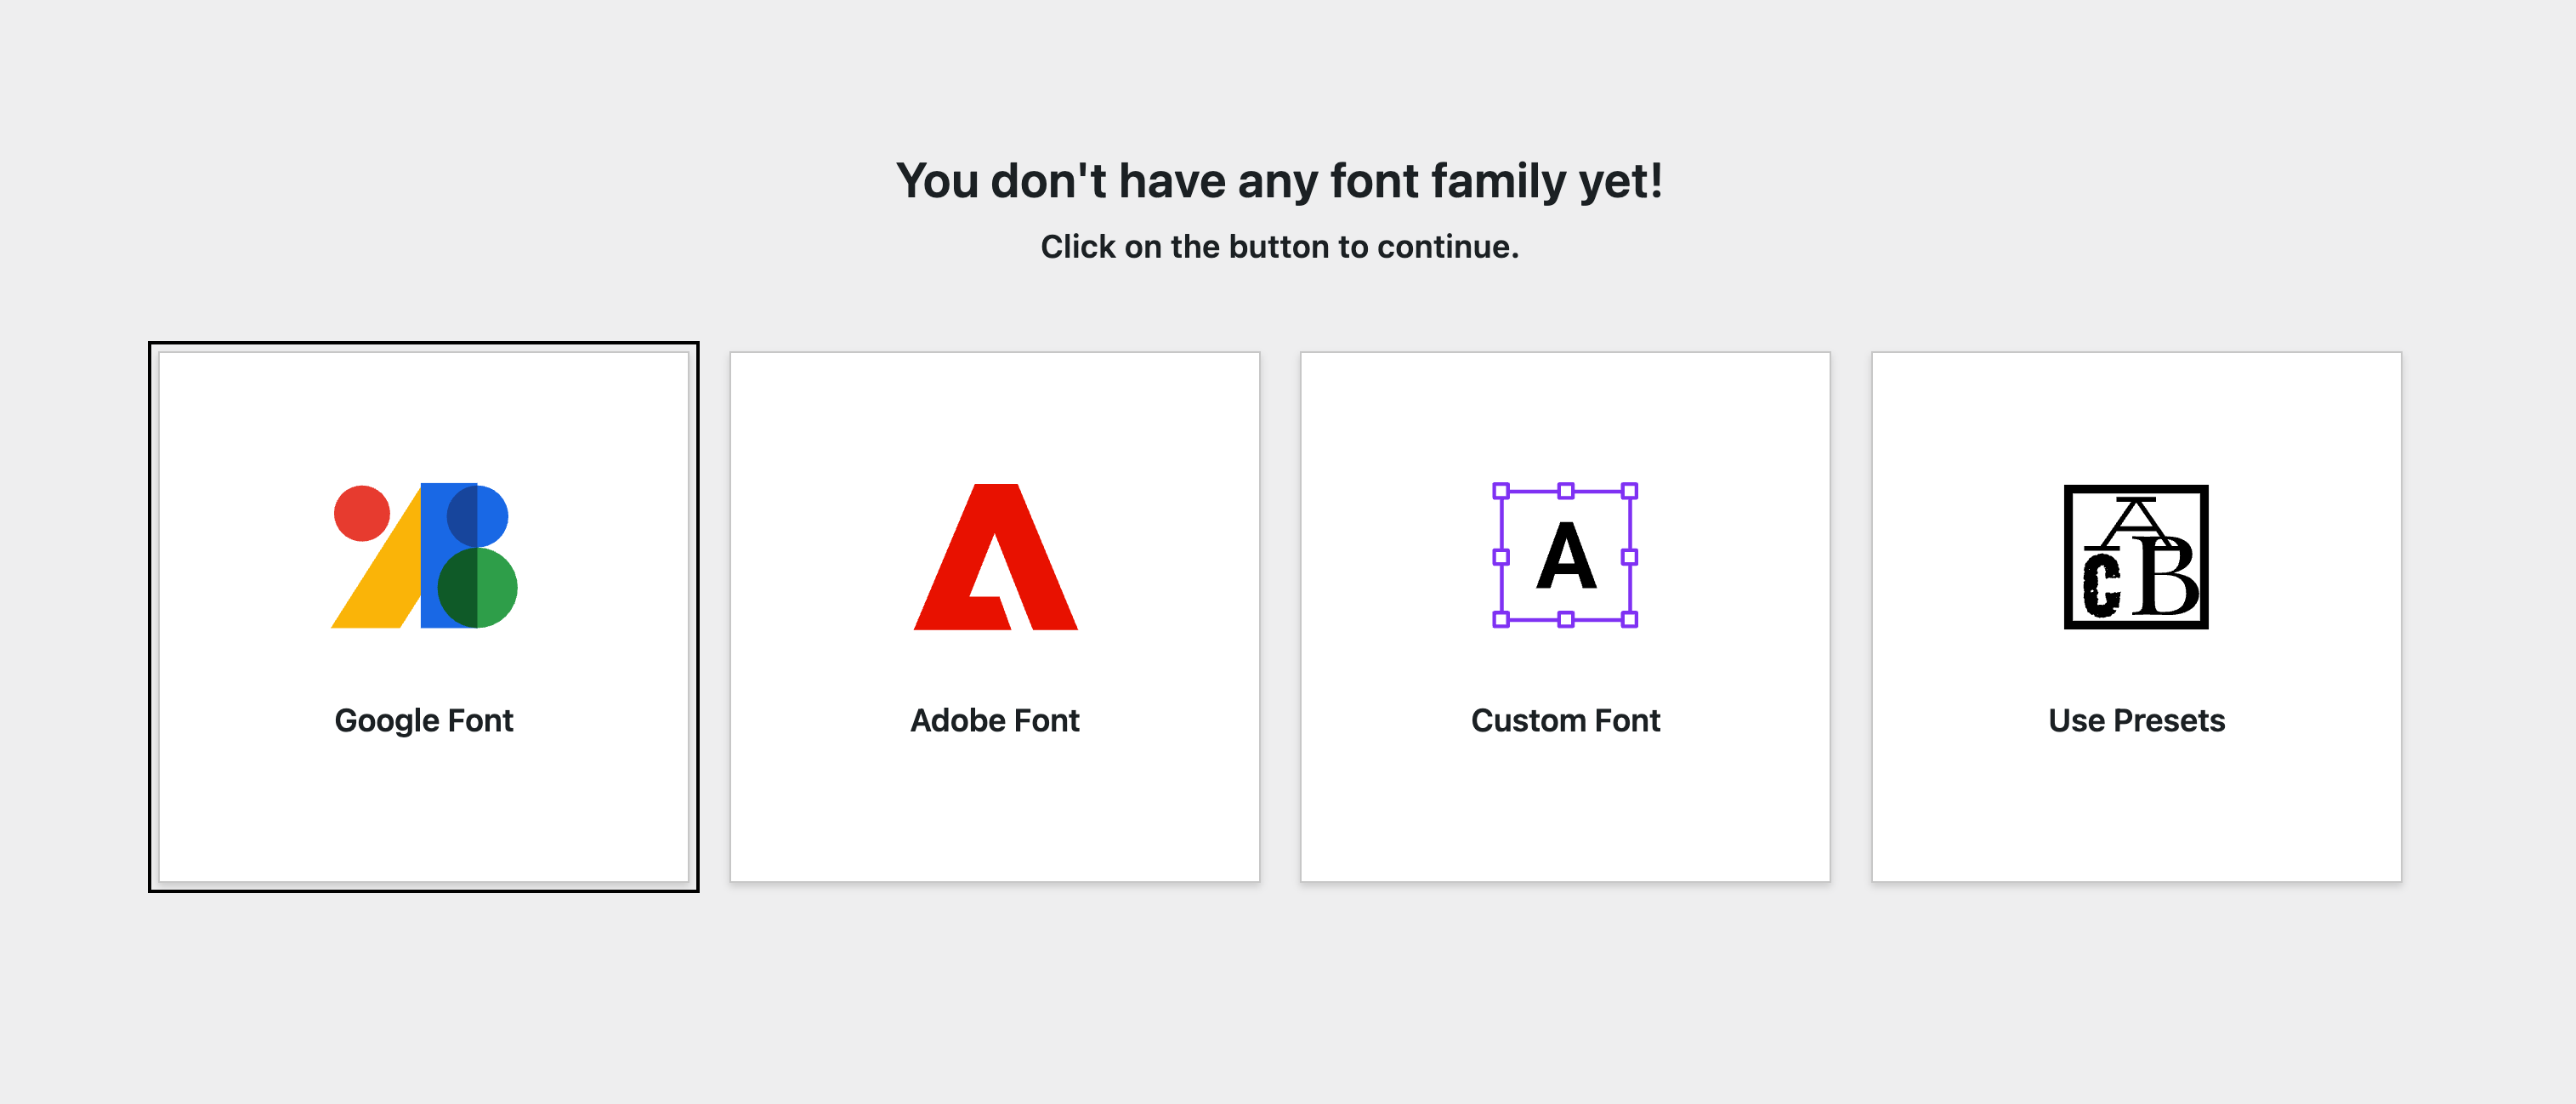
- Font Hero > Fonts
- Add Font
- Choose a source (Google, Custom, Adobe, or Use Presets)
Choose How You Want to Add the Font
Google Fonts
Best when you want fast access to a large font library with variant and subset controls.
Font Hero downloads the files, hosts them locally, and adds the family to your library so you can manage loading behavior from the Fonts tab.
Custom Fonts
Best when you already have brand fonts or licensed webfont files (.woff2, .woff, .ttf).
This gives you full control over uploaded font files, weights/styles, variable fonts, and optional subset splitting.
Adobe Fonts (Typekit)
Best when your team already uses Adobe Fonts and you want those families available inside Font Hero and your builder font pickers.
Font Hero connects to your Adobe web project and registers the selected families without downloading the files locally.
Font Pairing (Use Presets)
Best when you want a ready-made typography direction instead of building a font setup from scratch.
This workflow imports a curated preset combination (Headline / Subheadline / Body) and is ideal for quick starts, mockups, and client-first design work.
Note: This is not a single-font-family import. It adds a preset set of families to your library.
Quick Tip for Power Users
If you’re not sure which route to choose:
- Use Google Fonts for speed and convenience
- Use Custom Fonts for brand control and local hosting
- Use Adobe Fonts if your typography is already managed in Creative Cloud
- Use Font Pairing when you want a fast, curated starting point
You can mix all four approaches on the same site.