You can now create new custom menu links inside the dashboard and optimise experience for you or your users.
Create new menu item
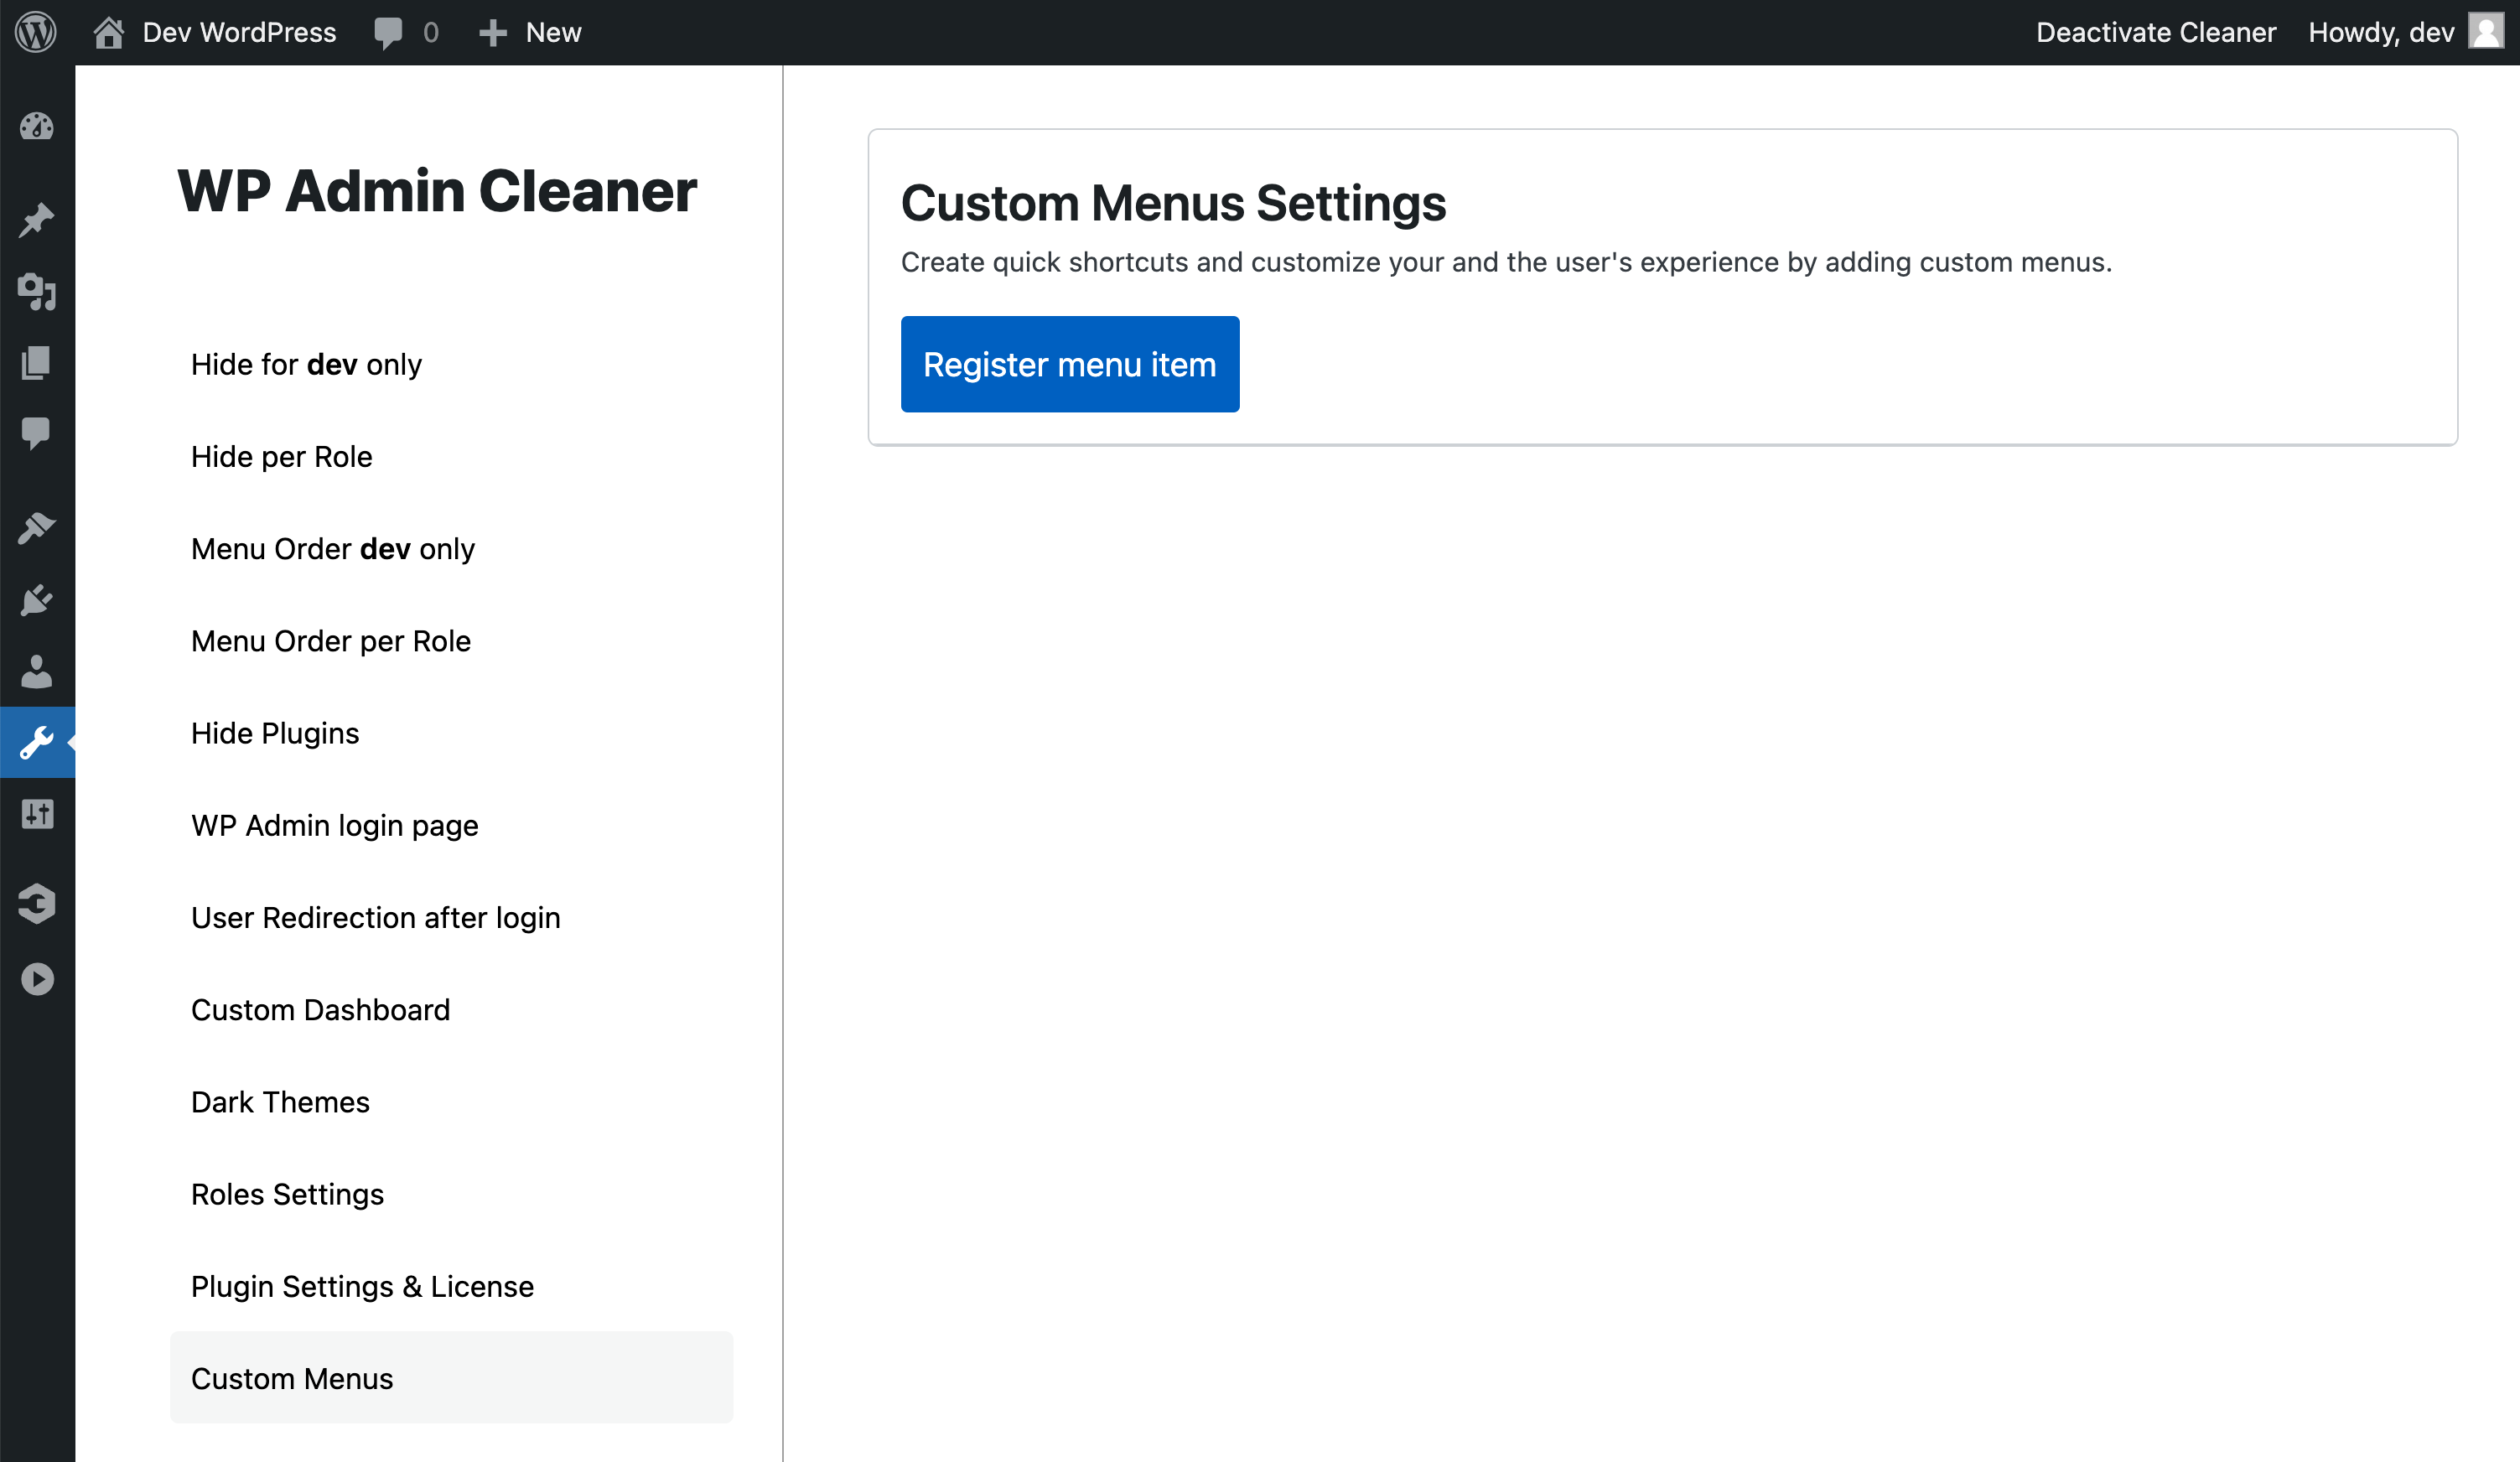
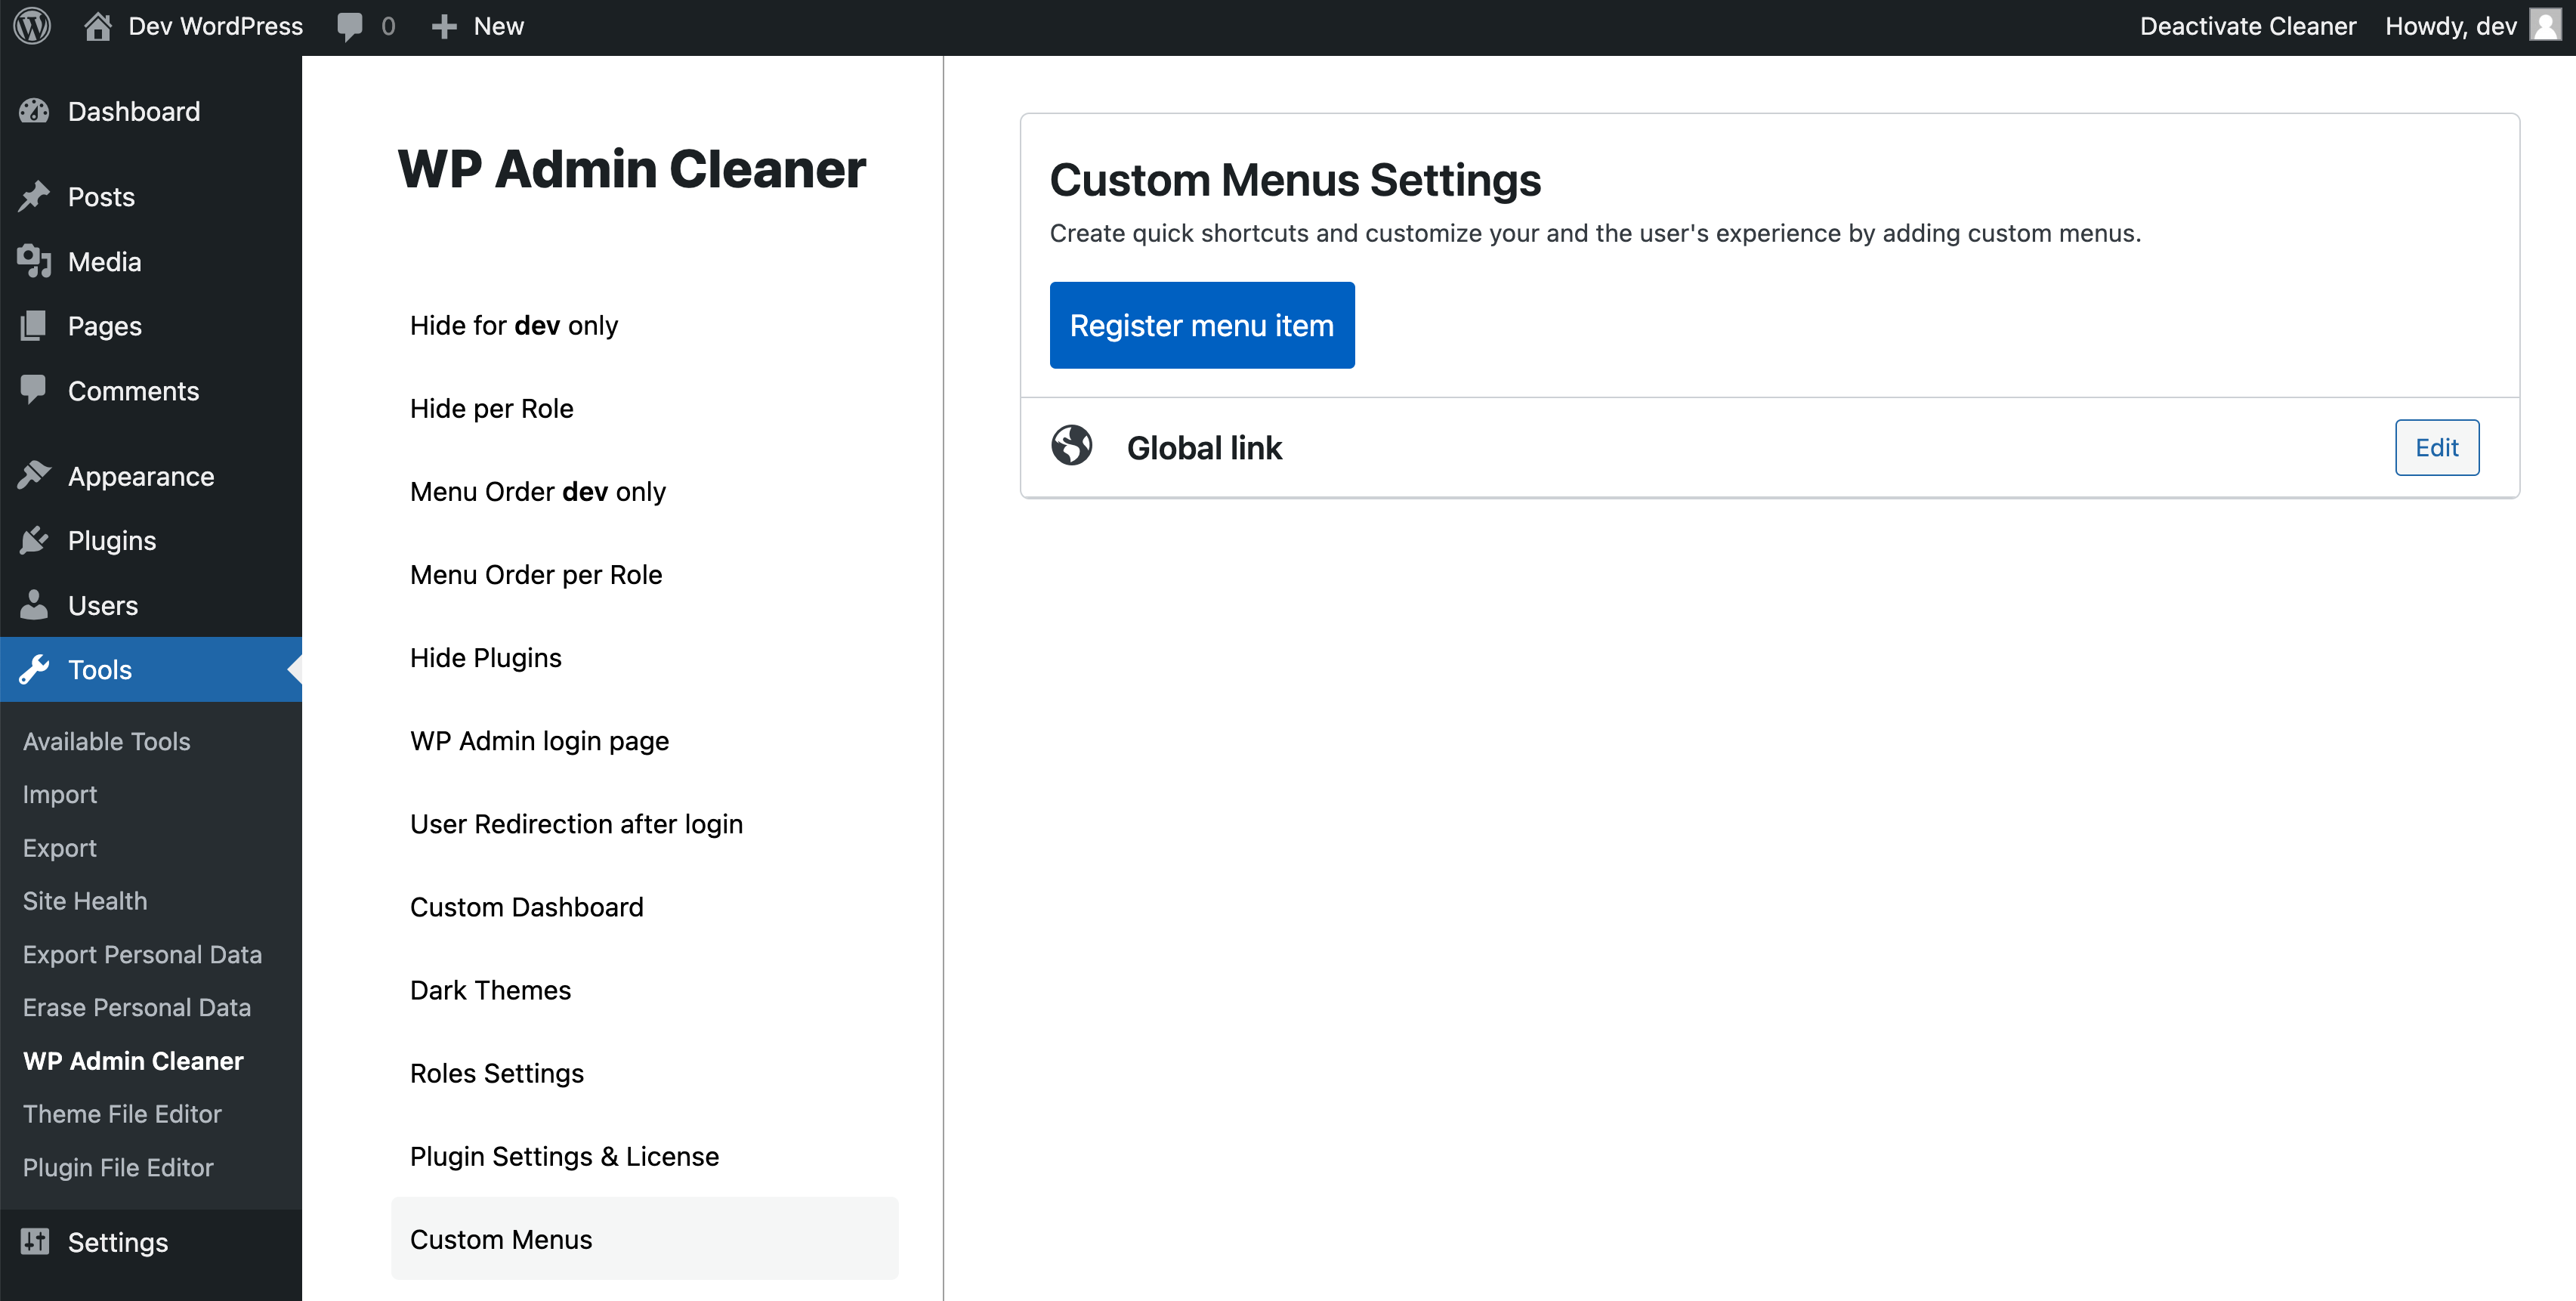
To get started:
- Open “Custom menus” in the WP Admin Cleaner sidebar
- Hit the button “Register menu item”
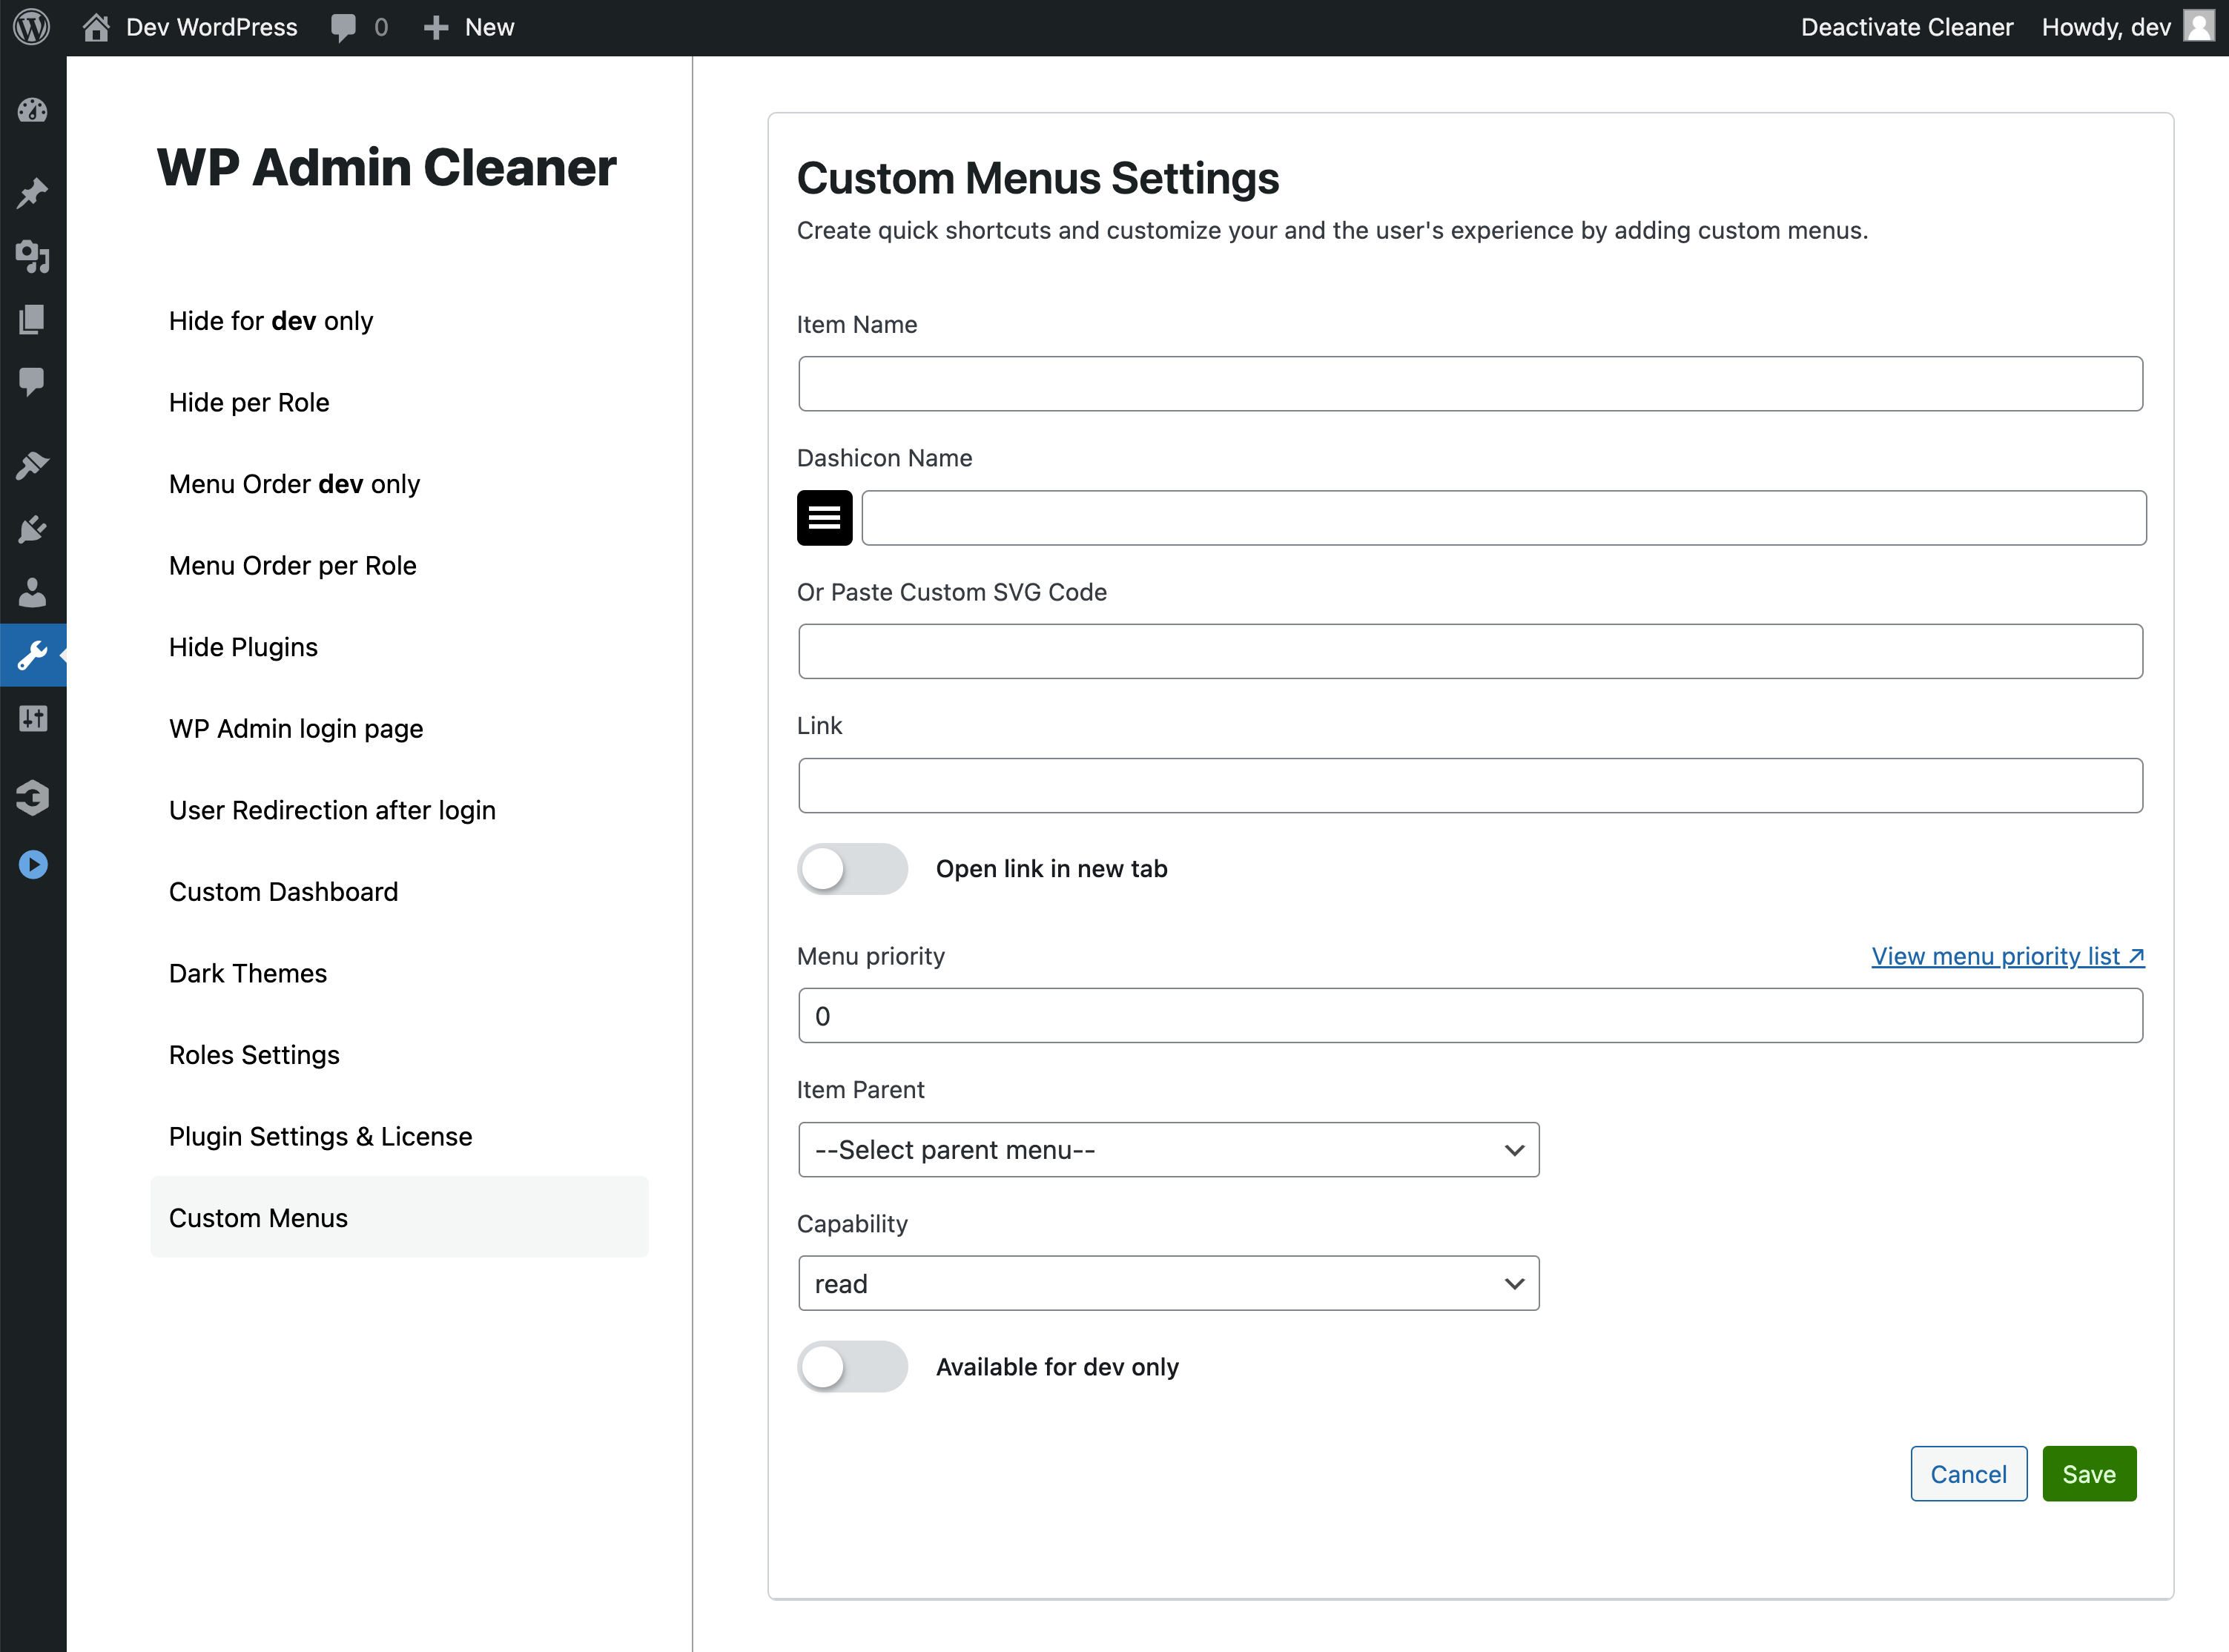
Menu item option
- Item Name
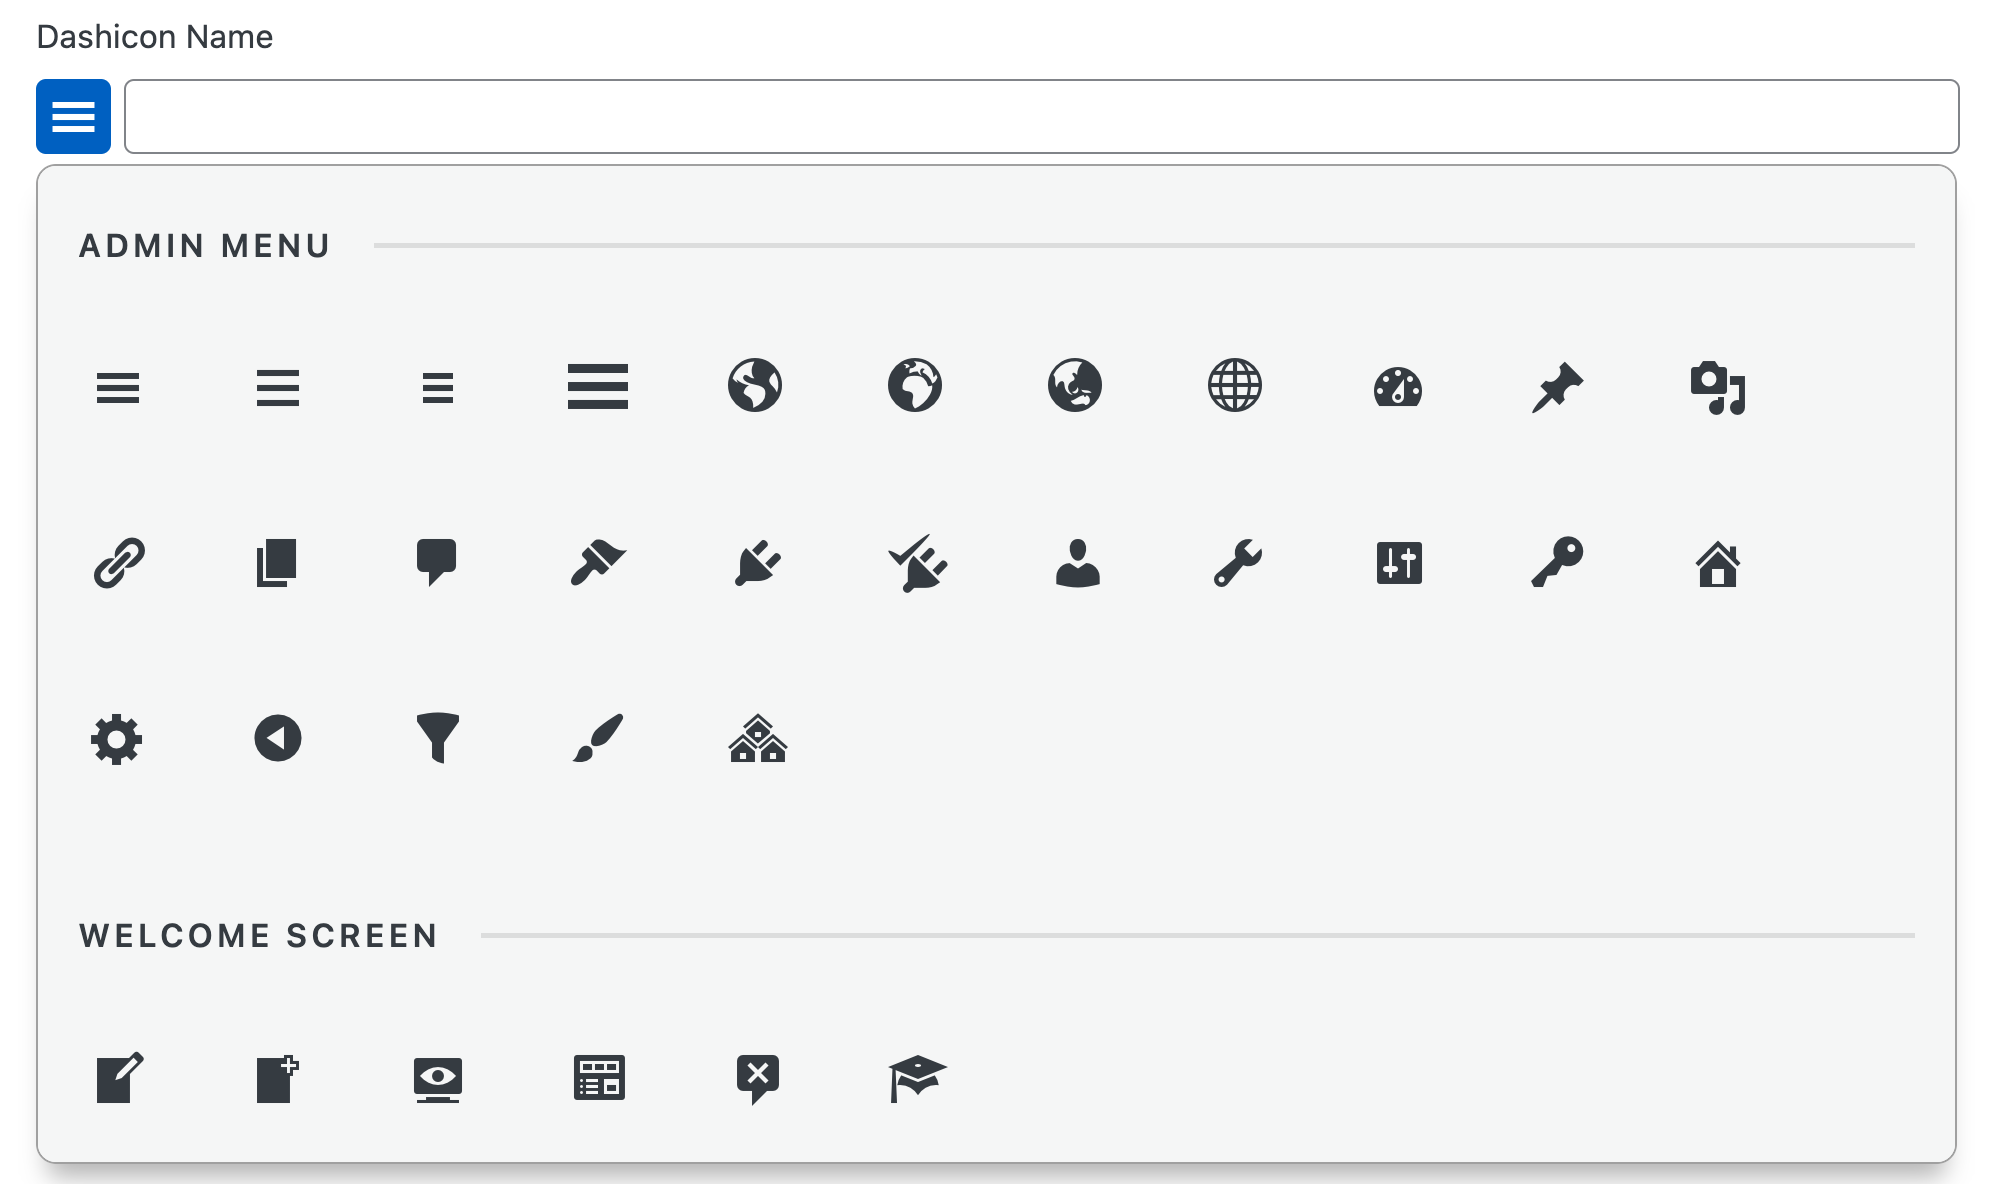
- Item Icons
- You can use Dashicon by clicking on the icons picker or typing the Dashicon name.
- Or you can paste SVG code. Remember to replace the fill color with the current color.
- Add Link. The link can also have the option to be opened in a new tab.
- Menu priority. Read more about it on the WordPress docs →.
- If you have multiple custom items, you can choose a parent.
Only custom items can be parents, as we do not want to include them under other plugins. - Capability. We are using WordPress defaults capability options →. This option is not mandatory, and you can leave it as it is.
- To not disturb others, you can create links only for yourself. By default, it’s for everyone.
Icon picker preview
Edit and Delete
To edit or delete a menu item, you need to click on the “Edit” button within the “Register Items” link. There, you can update the menu item and then save or cancel your changes. Alternatively, you can choose to delete the menu item.
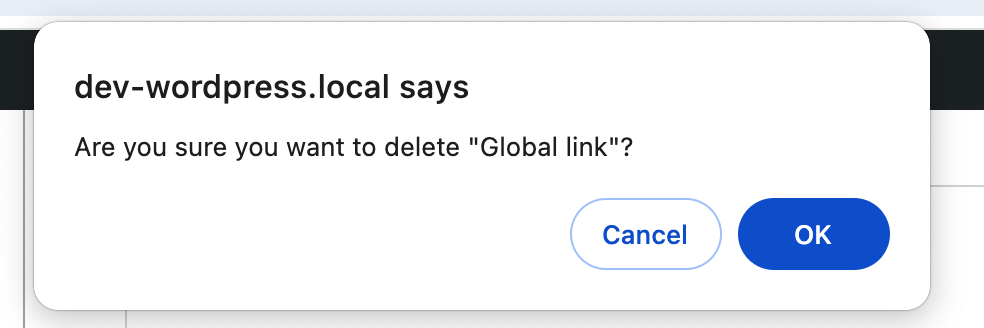
If you attempt to delete a menu item, you will receive a confirmation box to prevent accidental deletion.
Delete alert preview