
Keep your plugin or theme on GitHub and let every tagged release become the new version on your Hoster site. A GitHub Actions workflow builds the zip and publishes a GitHub release. Hoster reads the release and hands it to your customers.
How it works
- Hoster reads the latest release of the linked repository and takes its first
.zipasset. Pre-releases and drafts are skipped. - The release tag becomes the Download's version; a leading
vis removed. - Public repository: the Download URL is the release asset on GitHub, and Hoster passes the file through when a client downloads it.
- Private repository: Hoster downloads the asset with your connected GitHub account. It rebuilds the zip with a top-level folder named after the Download's slug and keeps it in private storage. Private repositories need a connected GitHub account (see below).
Hoster syncs the release when you save the Download, and on its own when you add the release webhook (see below).
Step 1: Create the repository
- Create a new repository on GitHub and give it a name.
- Choose Public (everyone can see it) or Private (only you and the people you invite).
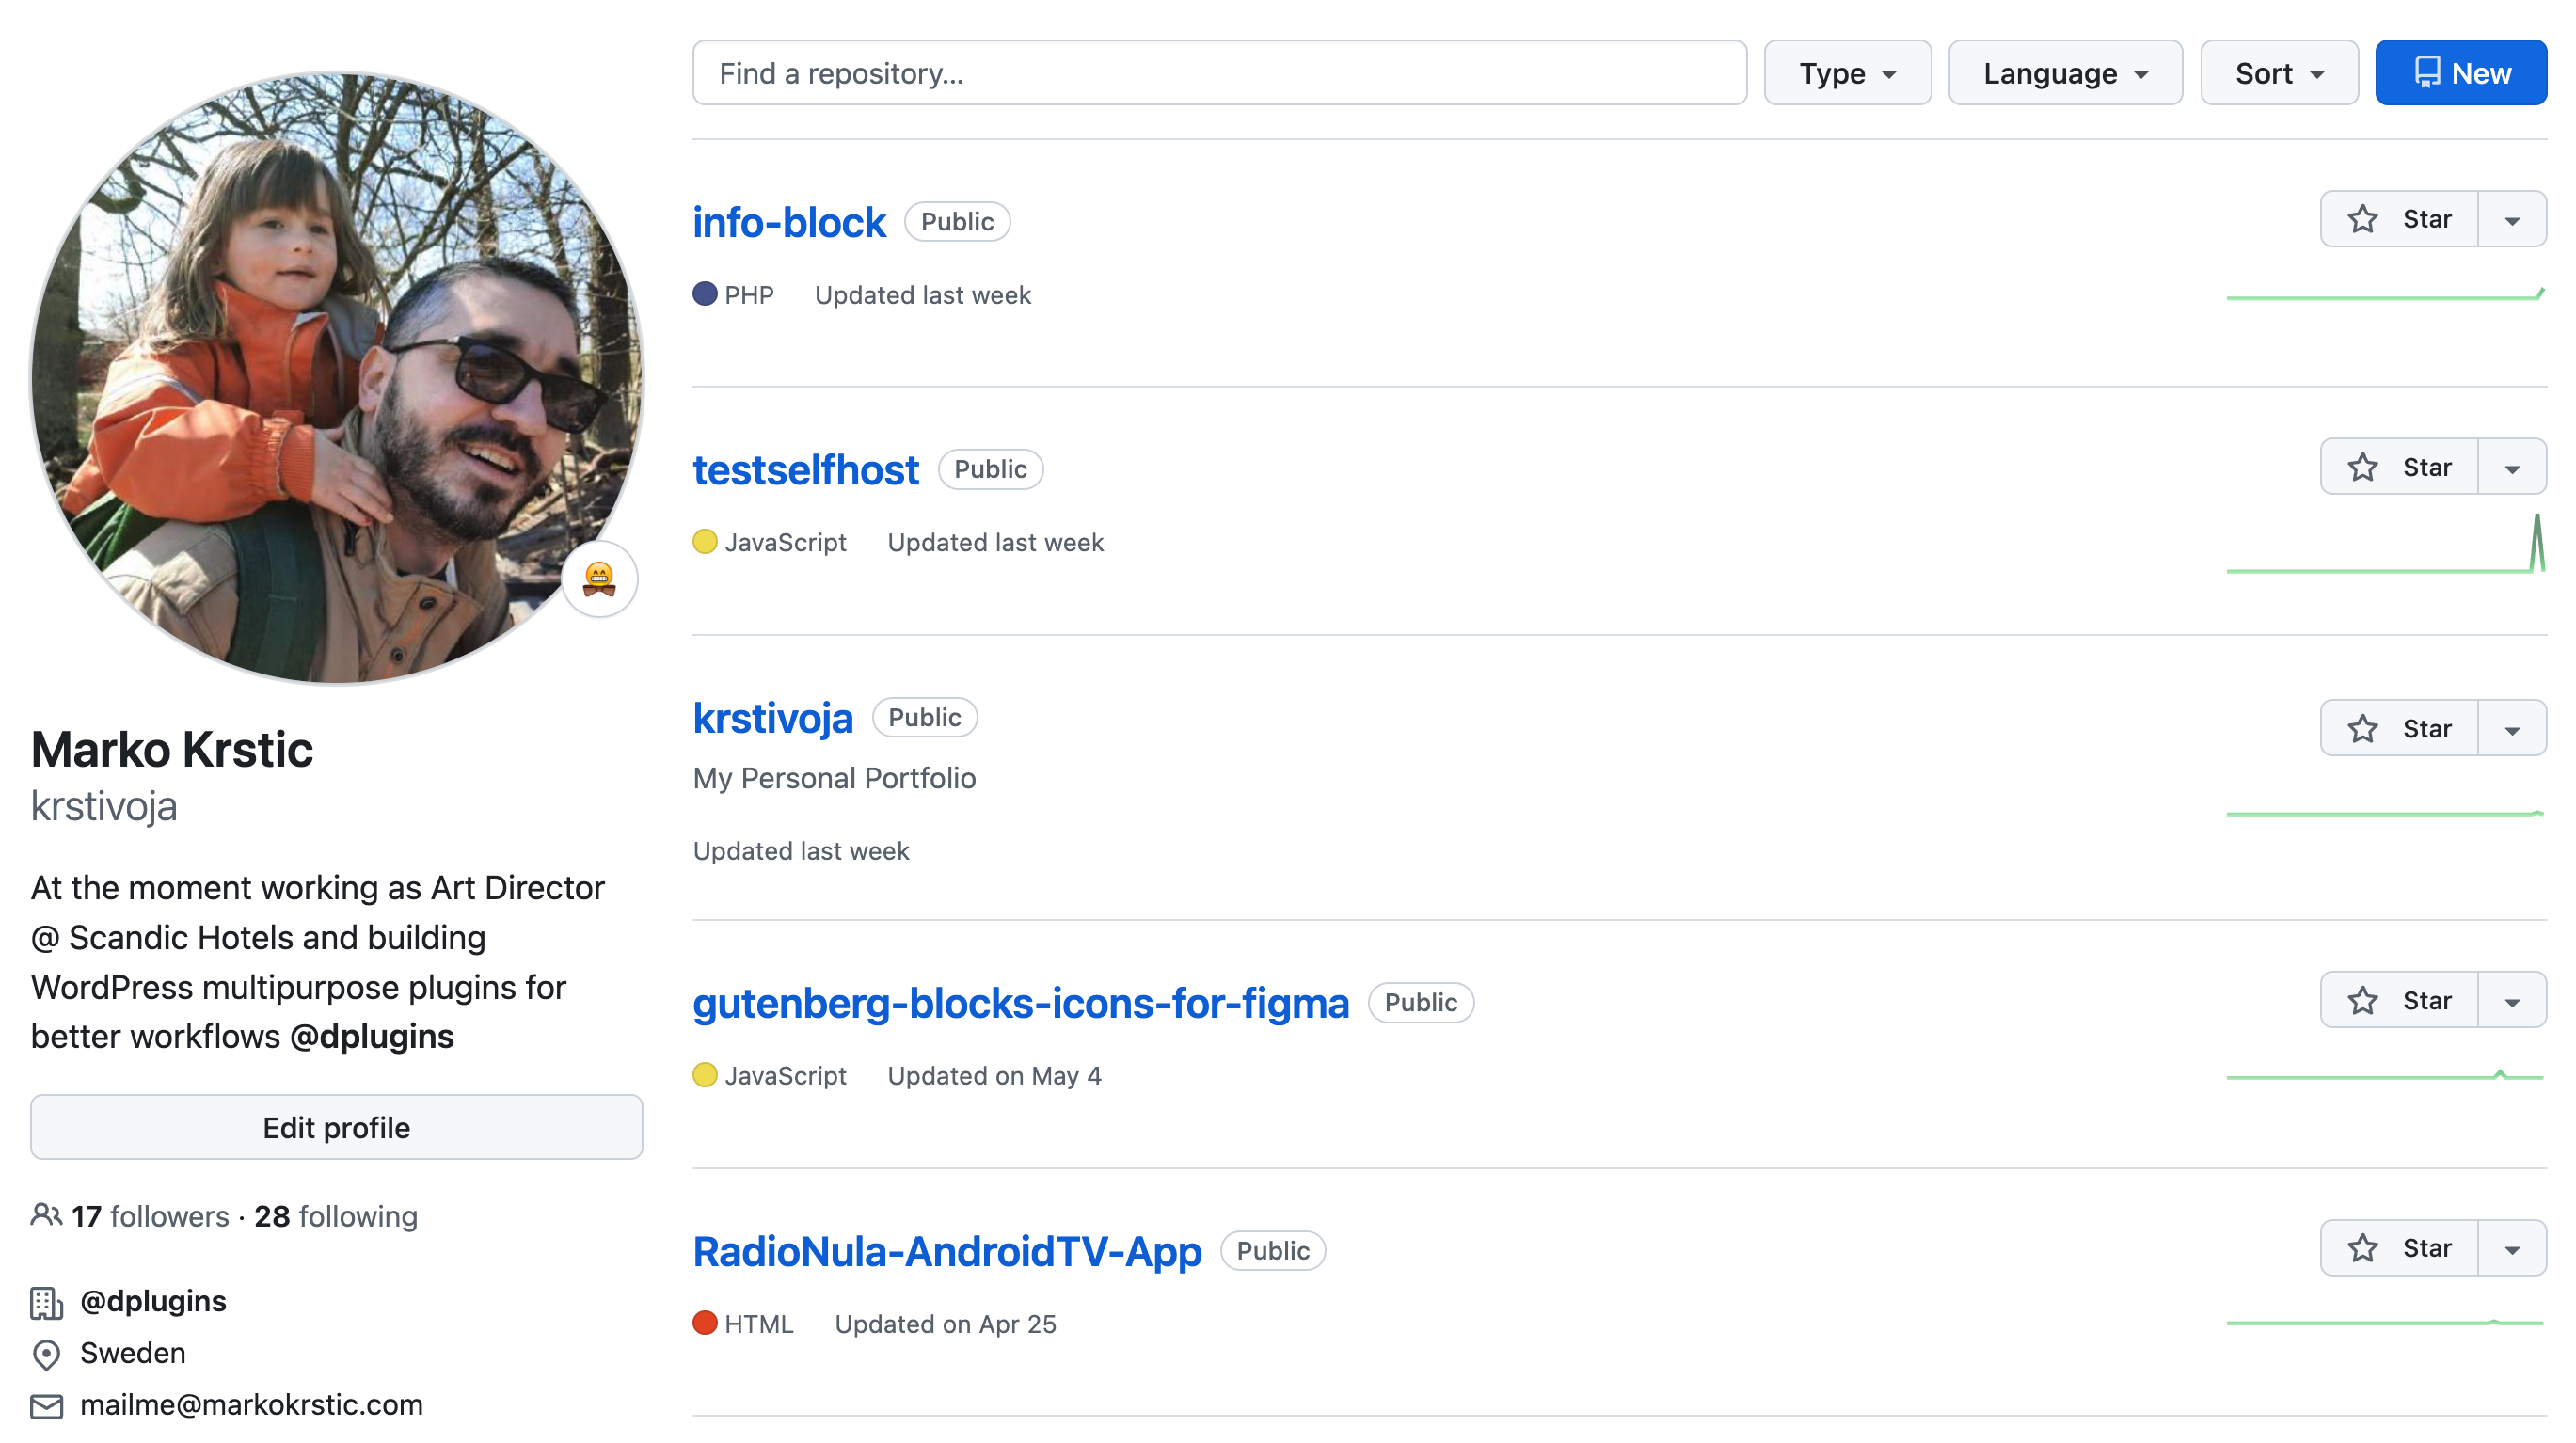
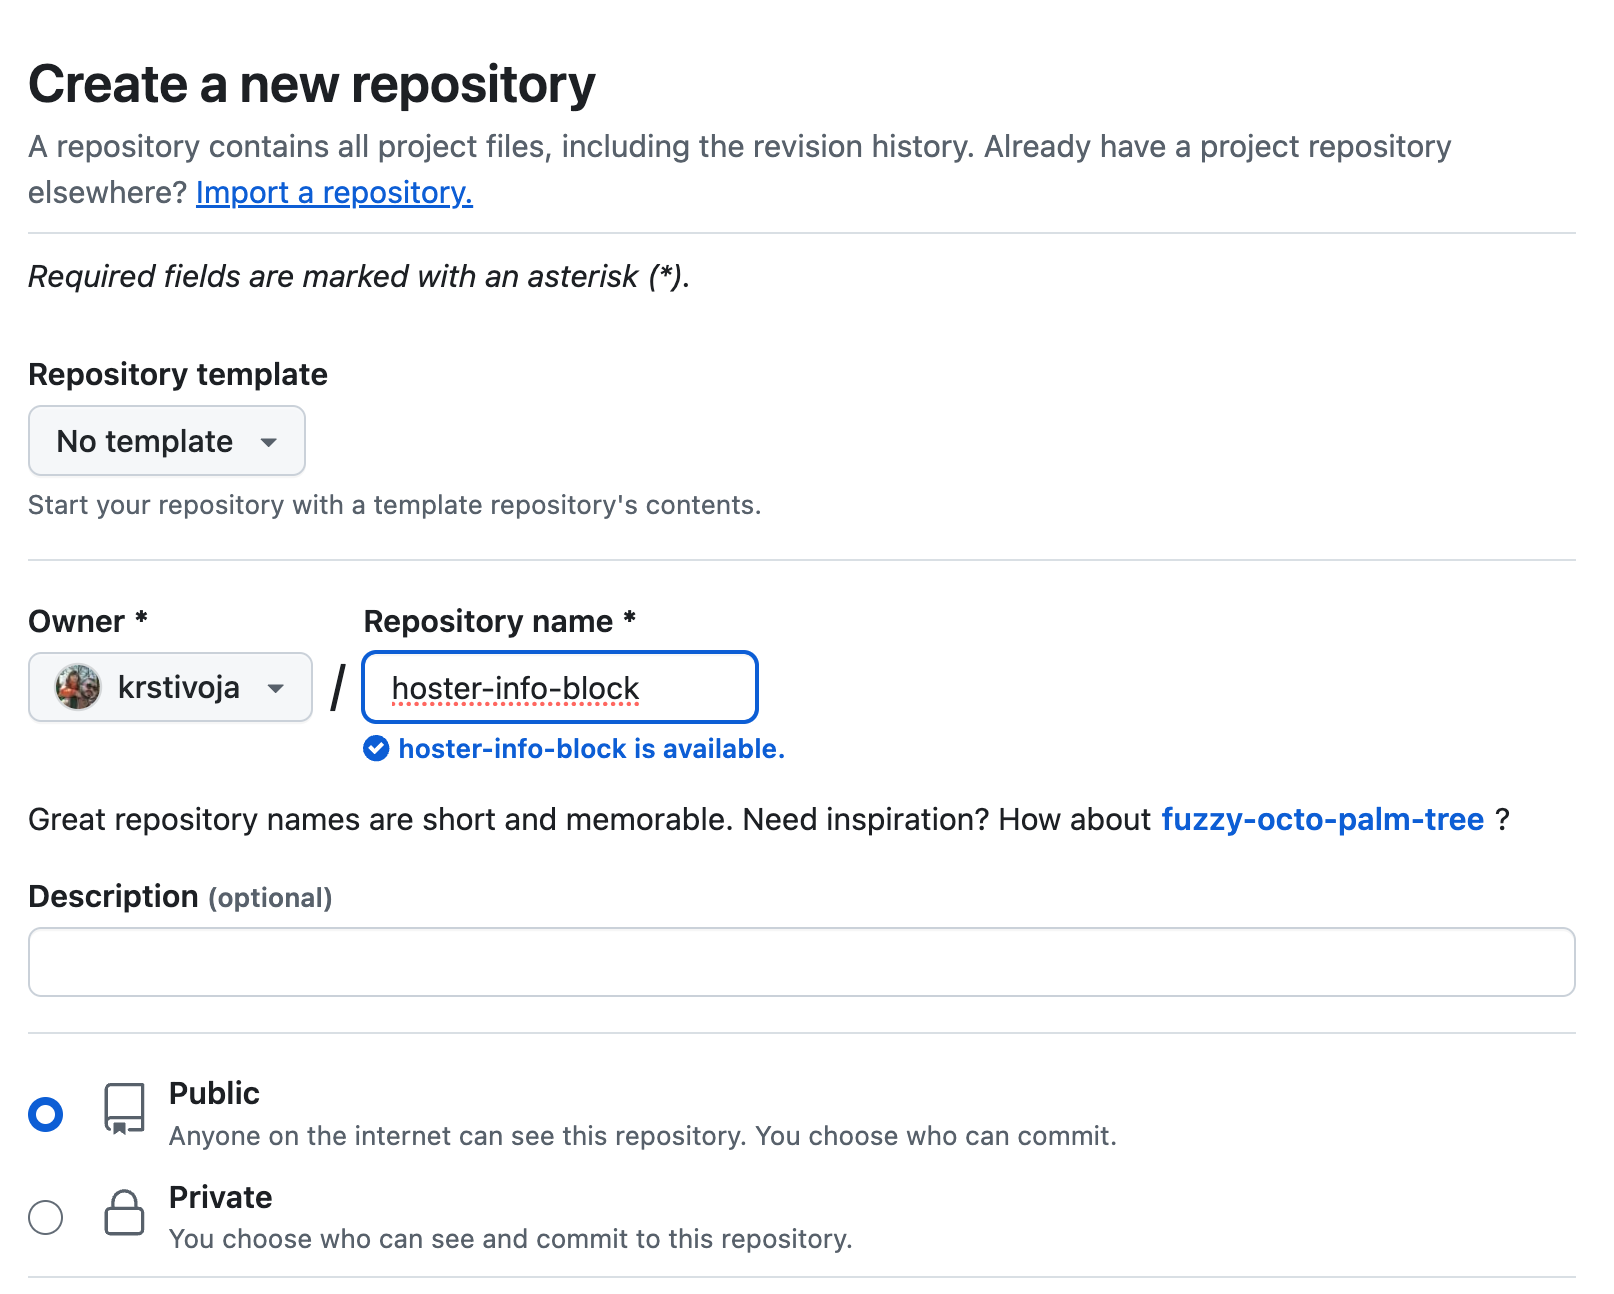
For a block plugin you can start from the official scaffold, for example:
npx @wordpress/create-block@latest my-block
Step 2: Add the Hoster files
- Create the Download on your Hoster site (see Create Plugin Update).
- Go to Downloads → Resources and choose it.
- Add the files from the Main plugin File and Updater tabs (and License for a licensed product).
- Add the three files from the GitHub Release tab:
my-plugin/
├── my-plugin.php
├── inc/
│   ├── hoster.php
│   └── update.php
├── .github/
│   └── workflows/
│       └── release.yml
├── .distignore
└── .gitignore
.gitignorekeepsnode_modules/,vendor/,build/,dist/and.DS_Storefiles out of the repository..distignorekeeps development files out of the release zip:node_modules/,src/,.git/,.github/,.gitignore,package.json,package-lock.json, the readme files and.distignoreitself. Edit it to match your project.release.ymlis the GitHub Actions workflow that builds the release.
Step 3: What the release workflow does
The workflow runs when you push a version tag. It:
- Checks out the repository.
- Runs
npm installandnpm run buildwhen the repository has apackage.json. - Runs
composer install --no-dev --optimize-autoloaderwhen it has acomposer.json, sovendor/ends up in the zip without being in the repository. - Copies the files to
dist/, leaving out everything listed in.distignore. - Zips them as
<download-slug>.zip. - Creates a GitHub release for the tag with the zip attached.
It runs for tags made of numbers and dots, like 1, 1.2 or 1.2.0, and for pre-release tags like 1.2.0-beta.1 or 1.2.0-rc.3.
The same tags with a leading v work too, like v1.2.0 or v1.2.0-beta.1: Hoster removes the v from the version.
A tag with a - becomes a GitHub pre-release, which Hoster ignores: use it to test builds before you ship them.
Step 4: Give the workflow a token
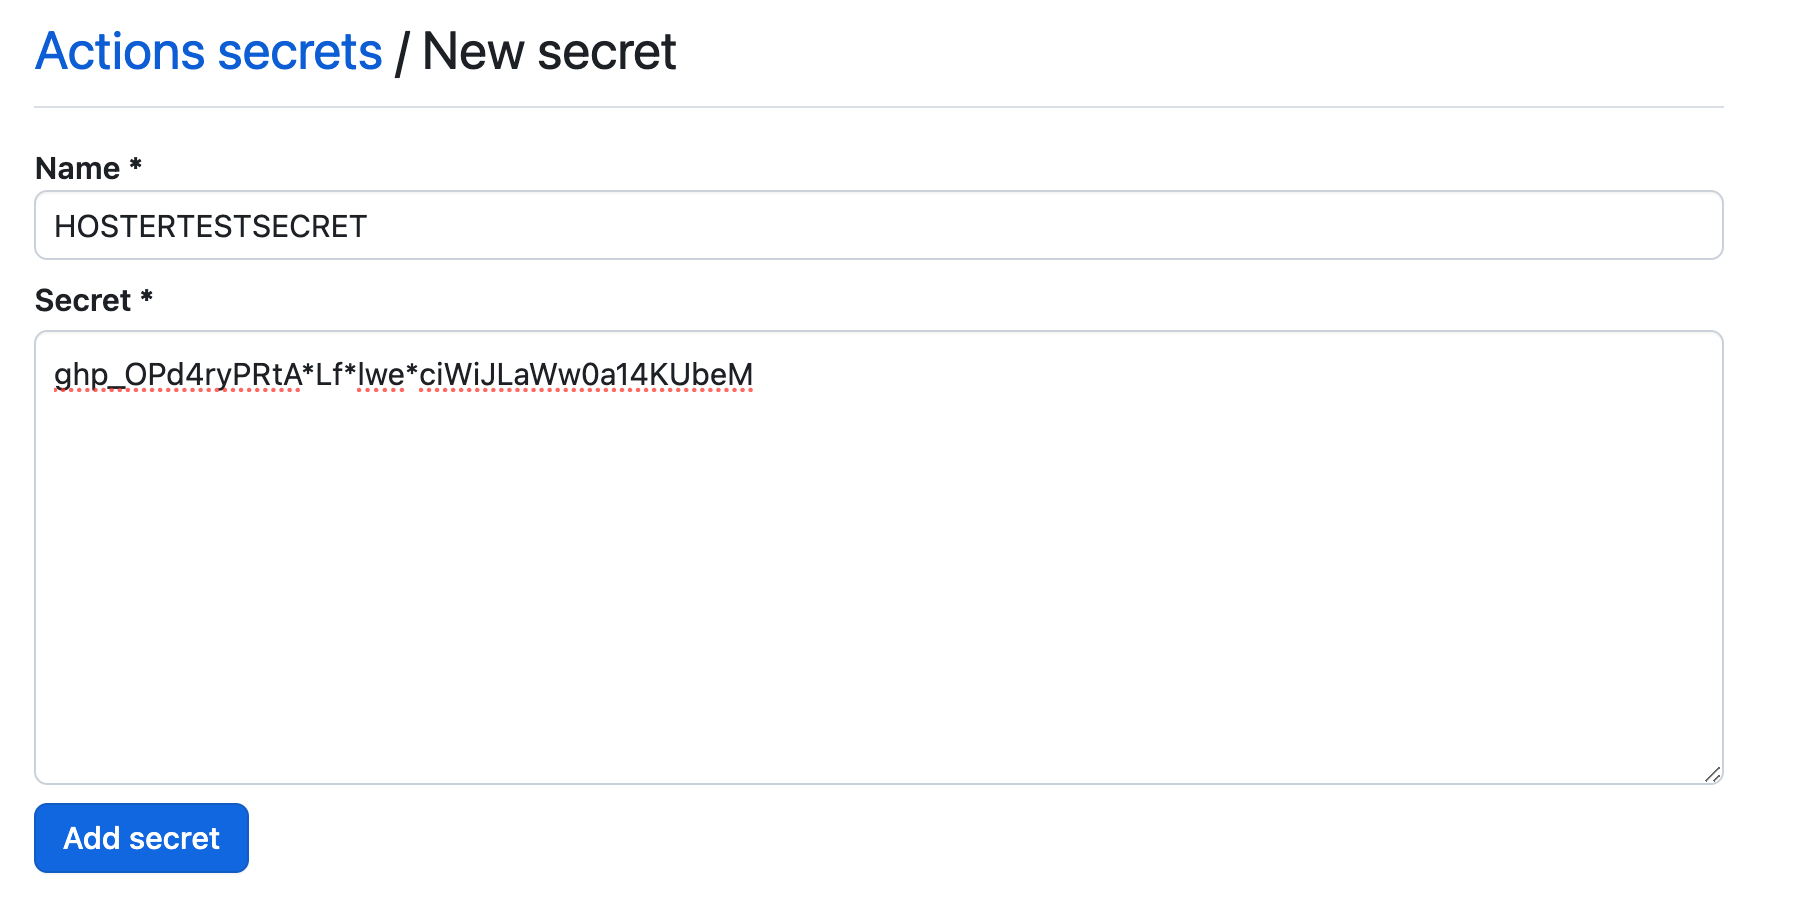
The generated release.yml creates the release with a repository secret called YOUR_GITHUB_TOKEN:
env:
  GITHUB_TOKEN: ${{ secrets.YOUR_GITHUB_TOKEN }}
Create that secret, or change the name in the file to a secret you already have.
Create a personal access token
- Open https://github.com/settings/tokens.
- Generate a new token that can write to the repository's contents: a classic token with the
reposcope, or a fine-grained token for this repository with Contents: Read and write. - Copy the token.

Add it to the repository
- In the repository, open Settings → Secrets and variables → Actions.
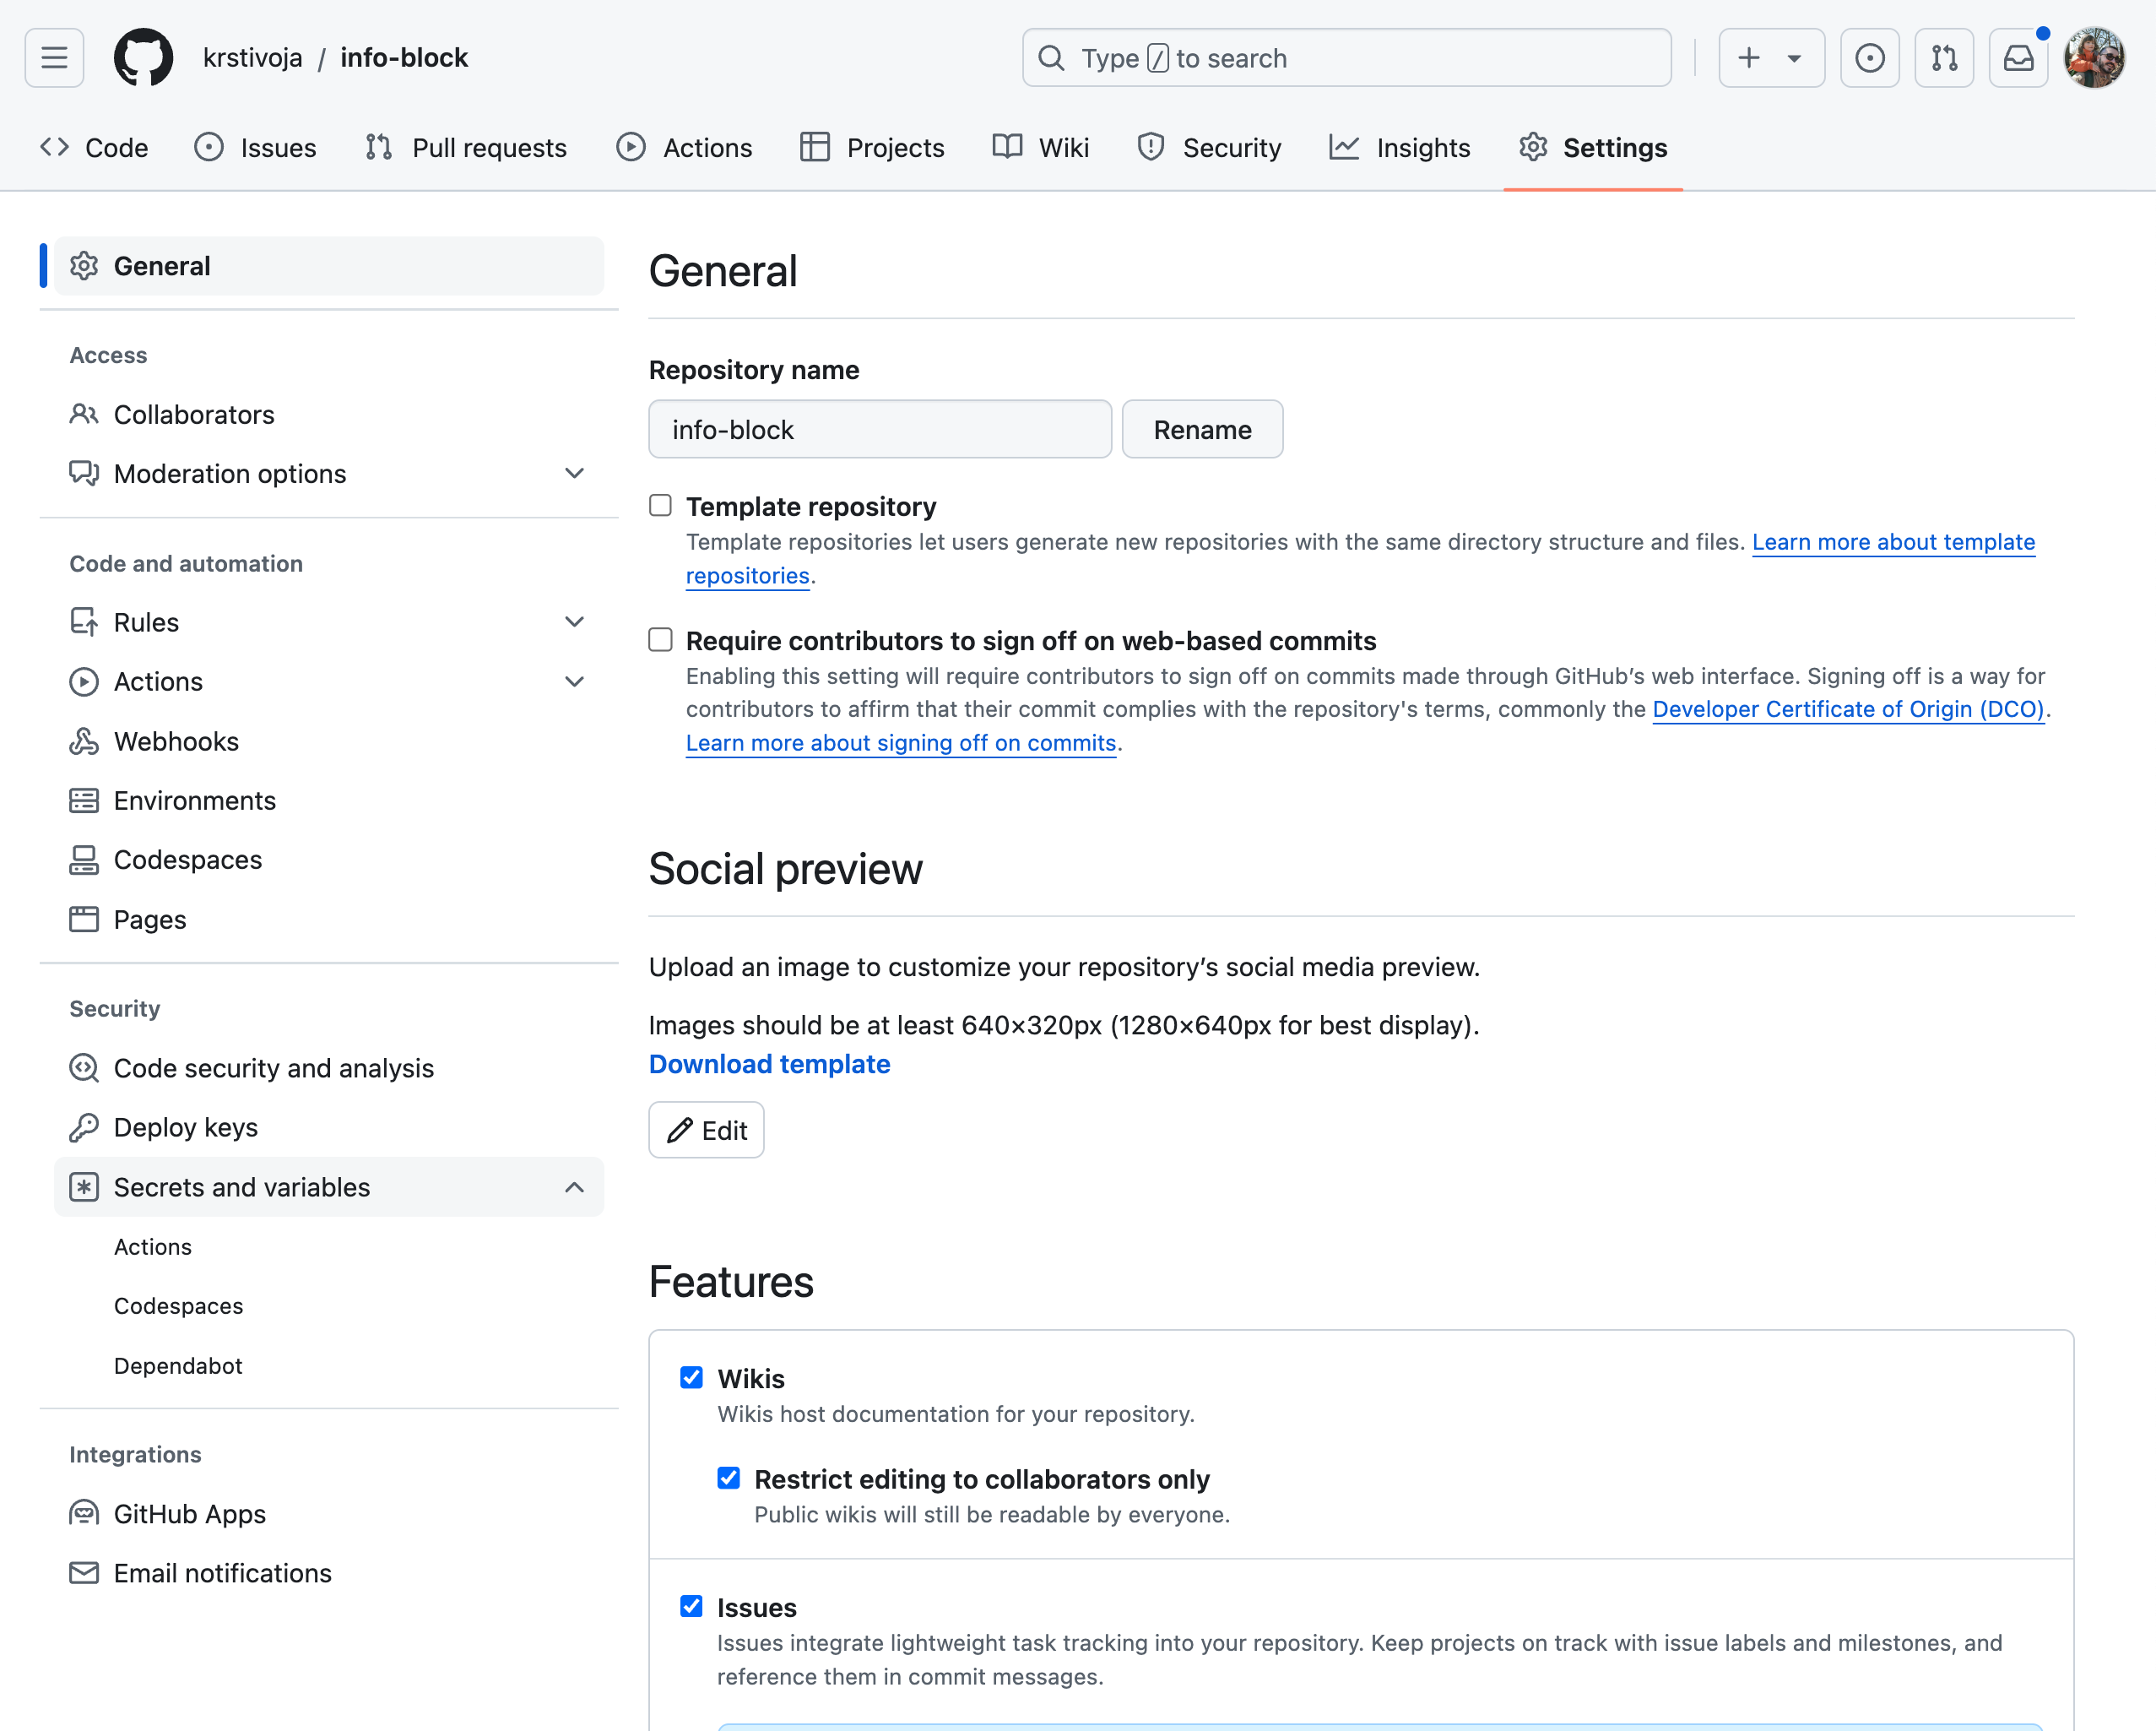
- Click New repository secret.
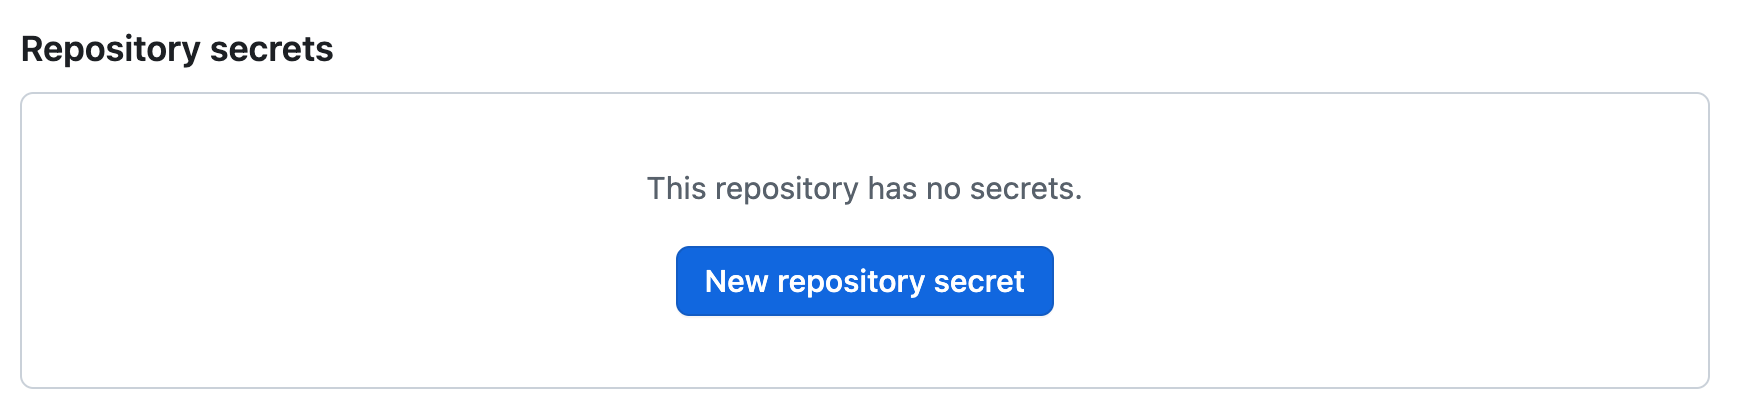
- Name it
YOUR_GITHUB_TOKEN(or the name you use inrelease.yml), paste the token and save.
Step 5: Release a version
- Change the
Version:header in your code, for example to1.2.0, and commit. - Create a tag with the same version and push it:
git tag 1.2.0
git push origin 1.2.0
The workflow builds the zip and creates the release. Follow it in the repository's Actions tab.
Step 6: Link the Download to the repository
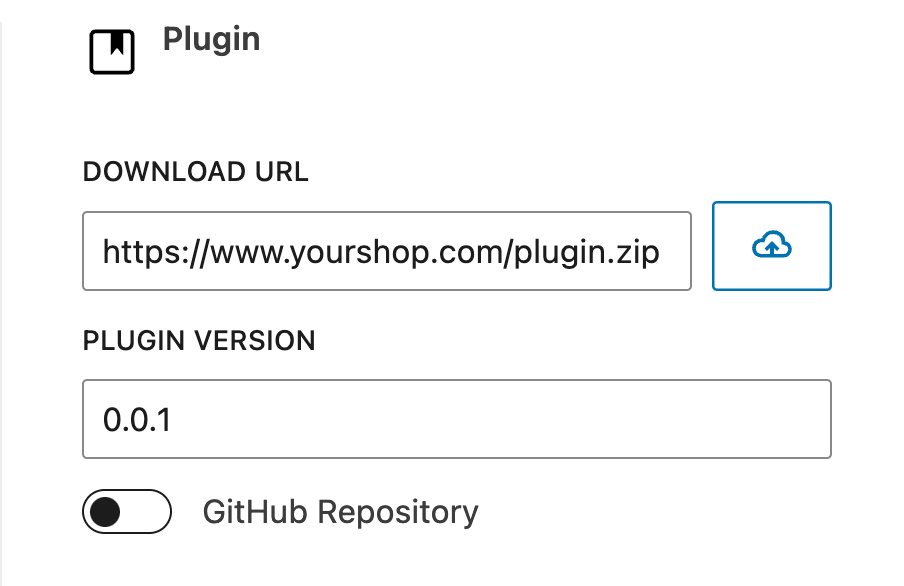
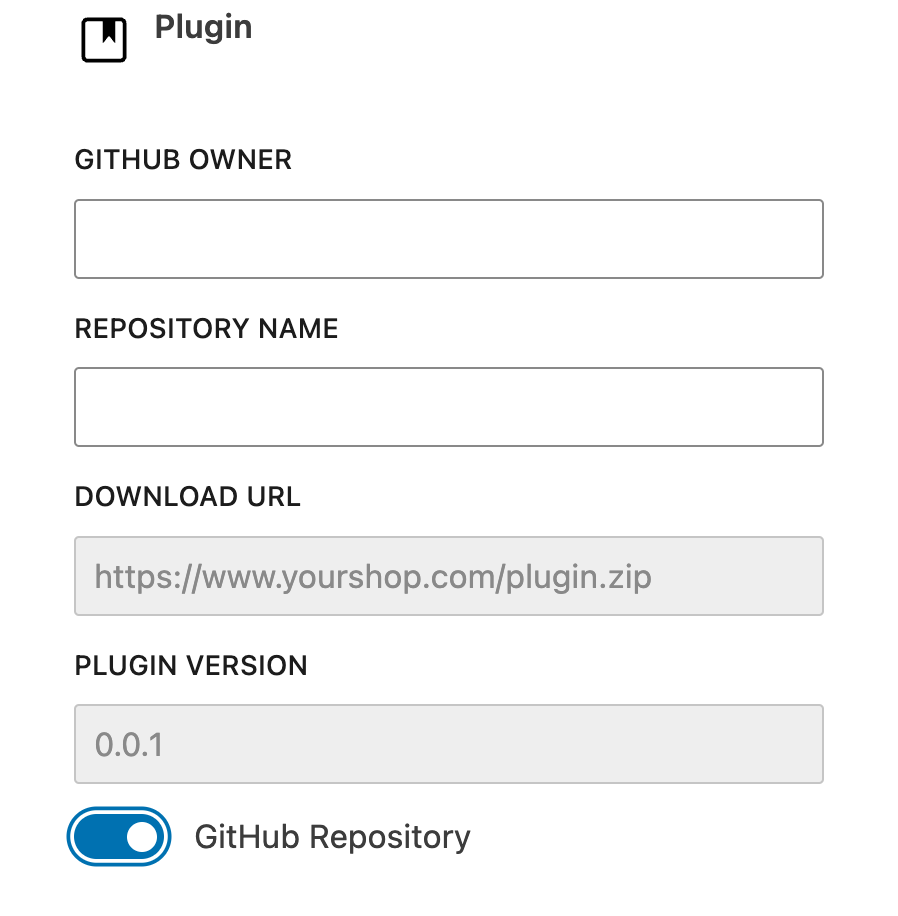
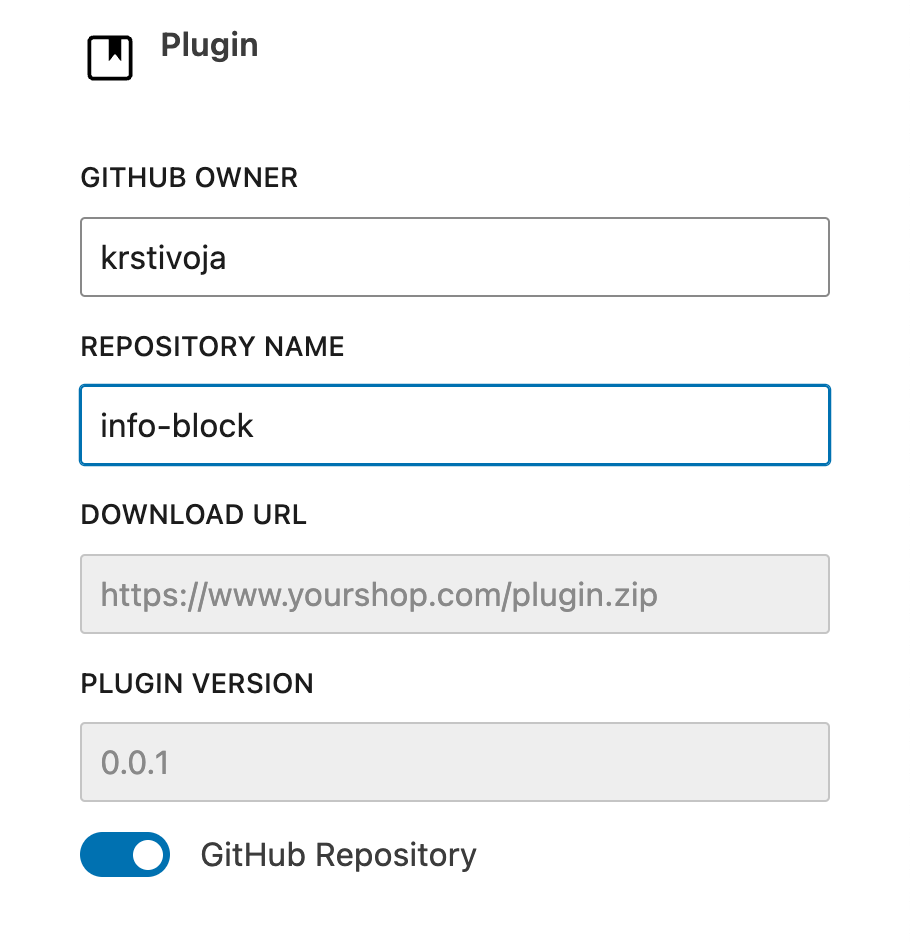
- Open the Download and turn on GitHub Repository in the sidebar.
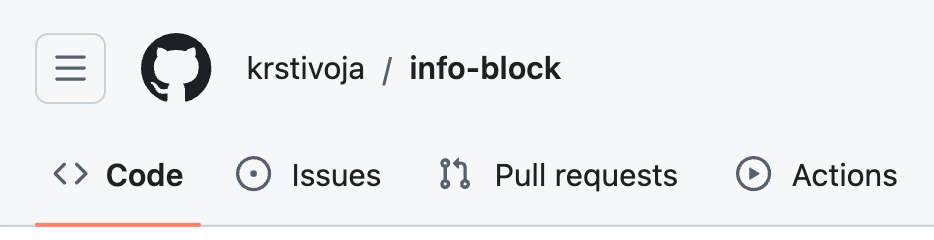
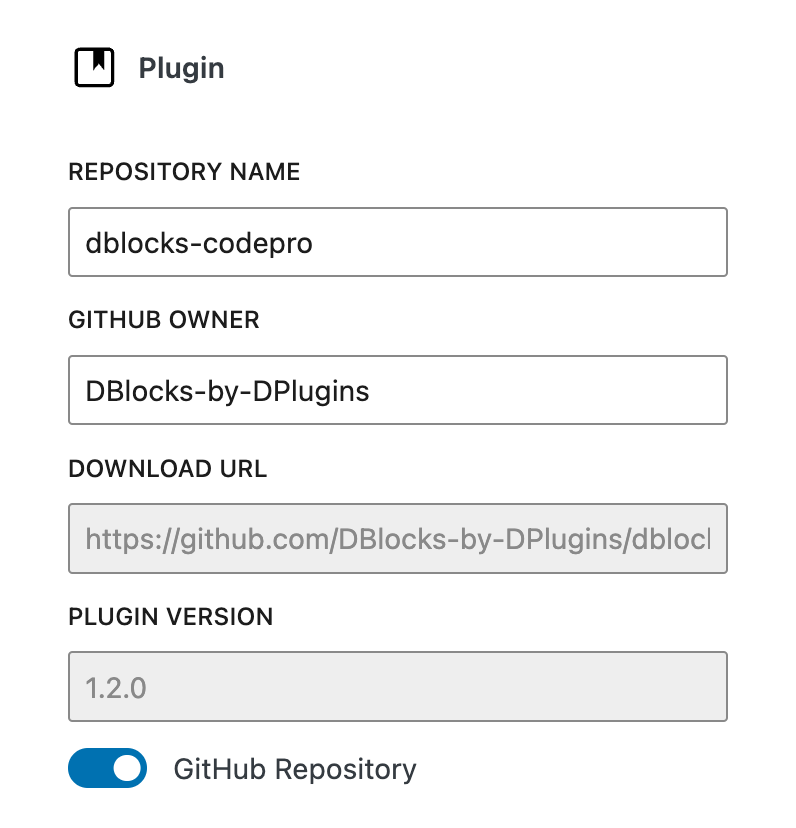
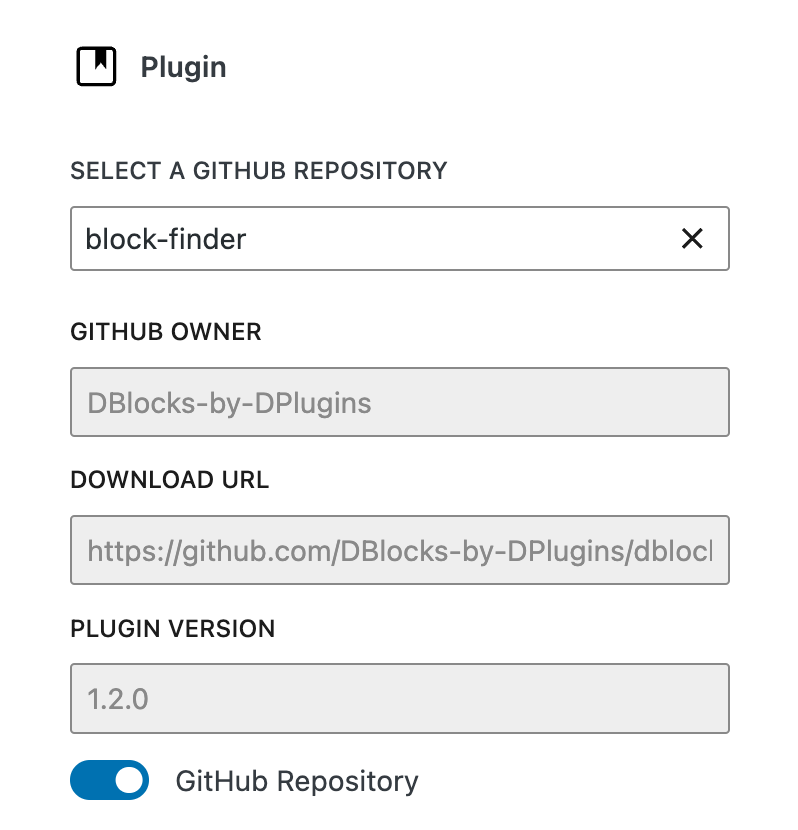
- With a connected GitHub account, choose the repository from Select a GitHub Repository; the owner fills in on its own. Without one, type the GitHub owner and the Repository name.
- Click Update.
Hoster reads the latest release and fills in the Download URL and Version. Both fields are read-only while the Download is linked to GitHub. Upload new version and the Release API are not available for these Downloads.
Without the webhook, Hoster only checks GitHub when you save the Download: after each release, open the Download and click Update.
Release webhook
The webhook tells your Hoster site about each new release, so the linked Downloads update on their own. Find the values under Downloads → GitHub Settings → Release webhook:
- Payload URL:
https://your-site.com/wp-json/hoster/v1/github-webhook - Content type:
application/json - Secret: generated for your site
- Events: Releases
Set it up on GitHub:
- In the repository, open Settings → Webhooks → Add webhook.
- Paste the Payload URL and the Secret, and set Content type to
application/json. - Choose Let me select individual events, tick only Releases, and click Add webhook.
GitHub sends a test ping right away; Hoster answers it, so the webhook shows a green check.
What happens on a release:
- A published or edited release updates every Download linked to that repository (published, draft or private Downloads). Pre-releases and drafts are ignored.
- The workflow sometimes publishes the release before the zip is attached. Hoster then tries again after 1, 3 and 10 minutes (this uses WP-Cron).
- Requests without the right secret are refused.
Regenerate Secret creates a new secret. The webhook on GitHub stops working until you paste the new secret there too.
The webhook works for public repositories without a connected account. Private repositories need the connected account to download the zip.
Connect your GitHub account
Connecting your GitHub account gives you two things:
- Hoster can read releases of your private repositories.
- You choose the repository from a list instead of typing the owner and name.
Not connected
Connected
Create a GitHub OAuth App
- Go to Downloads → GitHub Settings and click Get Help: it shows the values below for your site.
- Open https://github.com/settings/applications/new.
- Application name: anything that helps you find it later.
- Homepage URL: your website's URL.
- Application description: optional.
- Authorization callback URL (Hoster's help calls it Redirect URI): the URL shown in Hoster, which looks like this:
https://your-site.com/wp-admin/edit.php?post_type=downloads&page=github-settings&oauth_callback=1
- Leave Device Flow off. Expire user access tokens can stay on: Hoster refreshes the tokens on its own.
- Click Register application.
- Copy the Client ID and generate a Client secret.
Connect
- Paste the Client ID and Client Secret in Downloads → GitHub Settings.
- Click Connect Account.
- GitHub asks you to authorize the app; accept.
You come back to Hoster, which shows your GitHub account name and is connected. Disconnect Account removes the connection and the saved app details.
When the connection expires
Hoster refreshes the GitHub token before it expires. If GitHub refuses the refresh (for example after you revoked the app), Hoster shows "Hoster: the GitHub connection has expired, so releases are no longer synced from GitHub." on the Downloads screens, the Dashboard and in the Download editor. Click Reconnect GitHub and connect again.