After activating your Self-Hoster plugin license, you can begin distributing your custom plugins or themes across multiple websites. Below, we outline the process of creating, updating, and managing your first plugin named “Global Team,” intended for distributing CSS globally.
Step 1: Create Your First Download
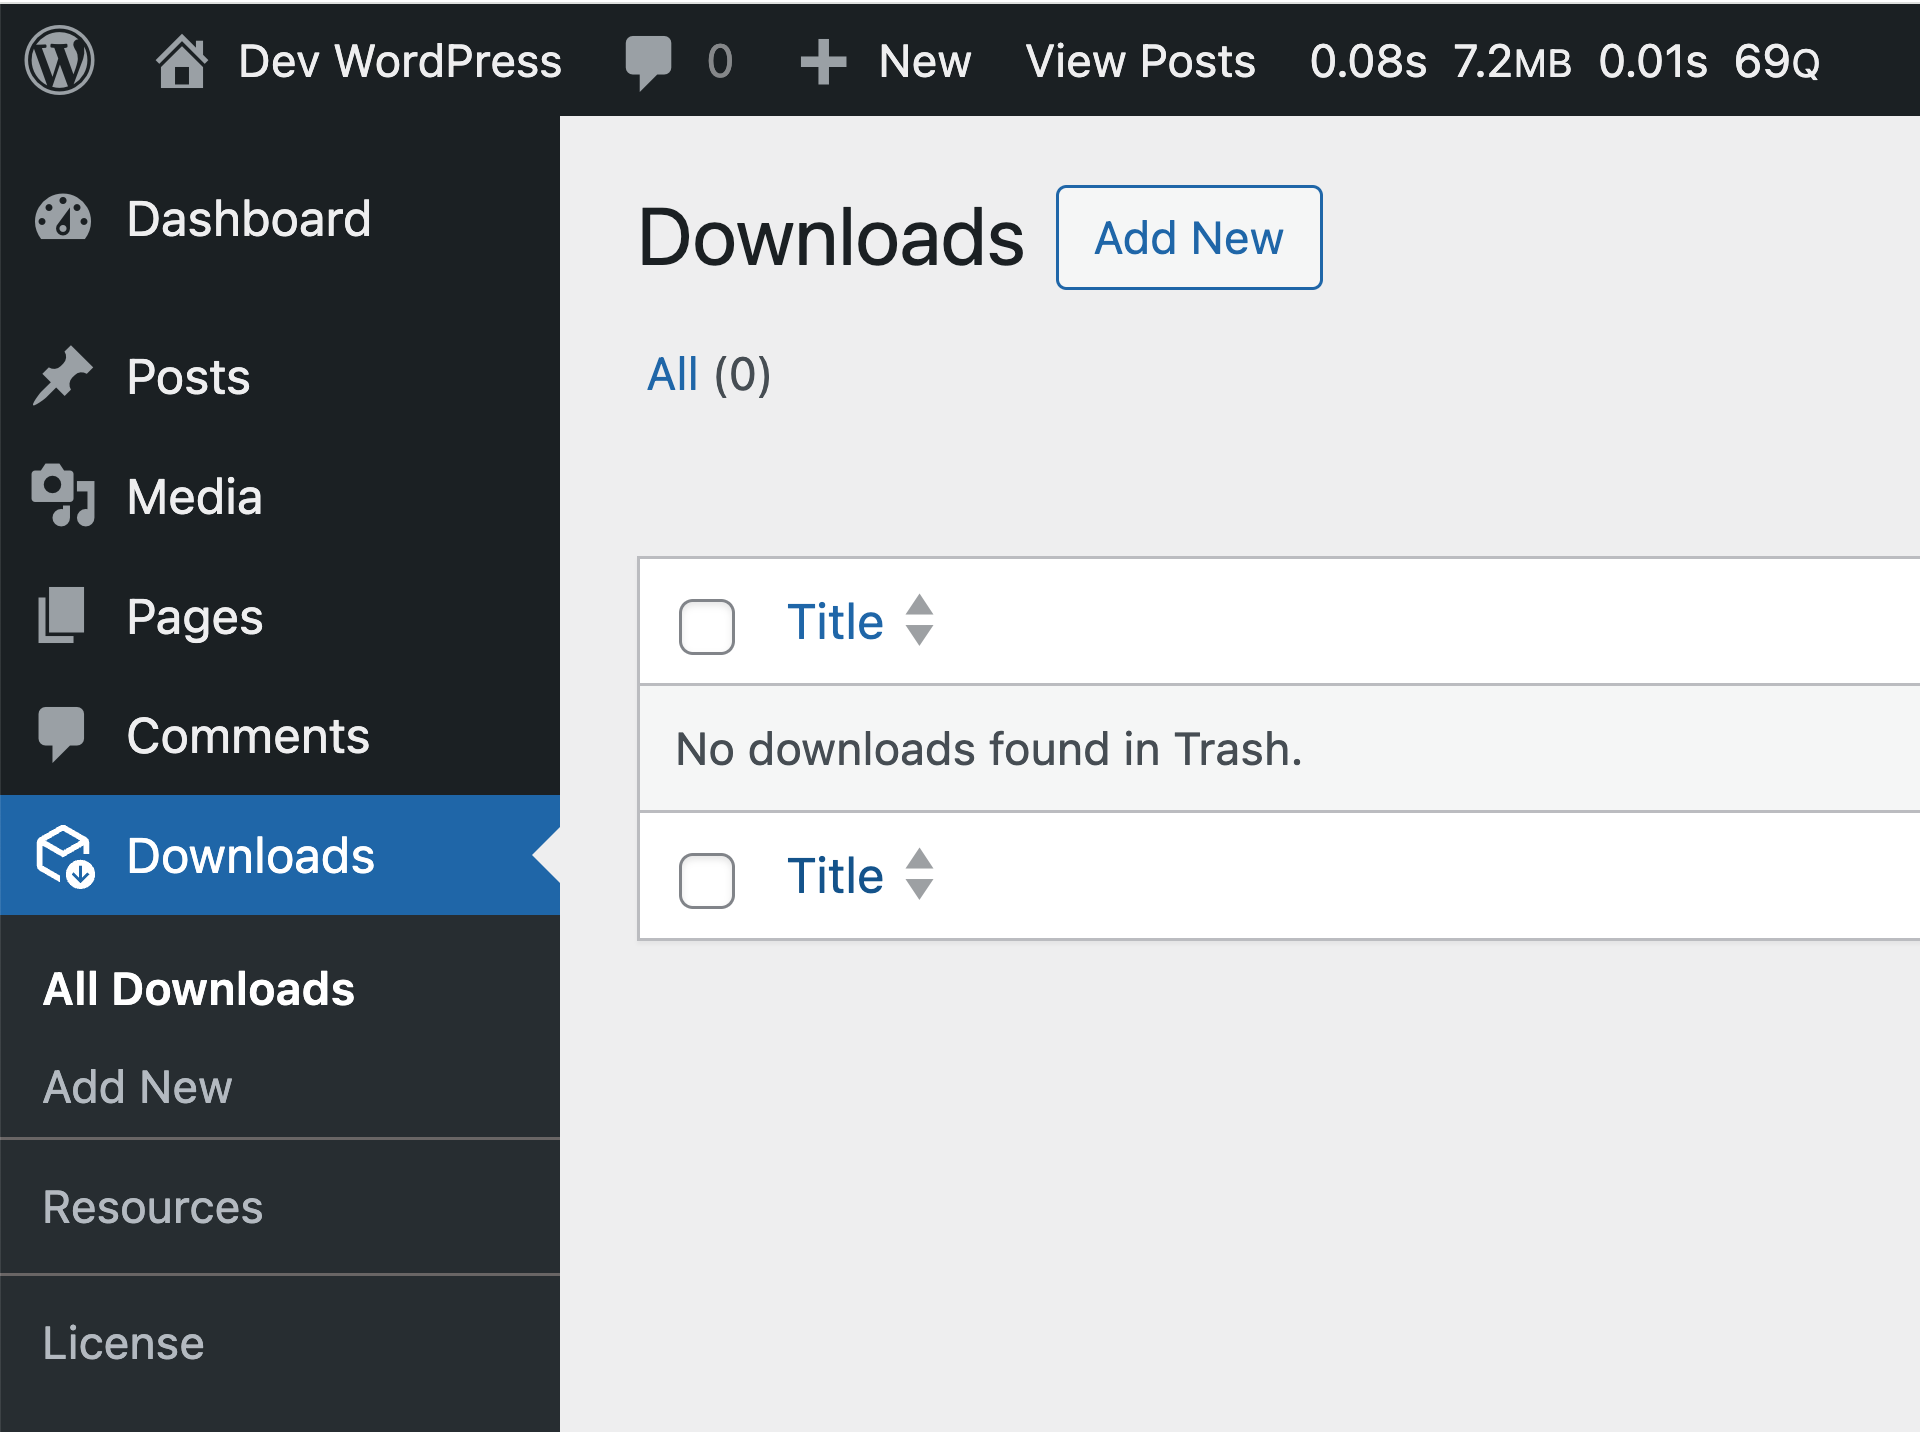
- Navigate to the All Downloads section within your WordPress admin dashboard.
- Click Add New to create a new plugin. Name it “Global Team.”
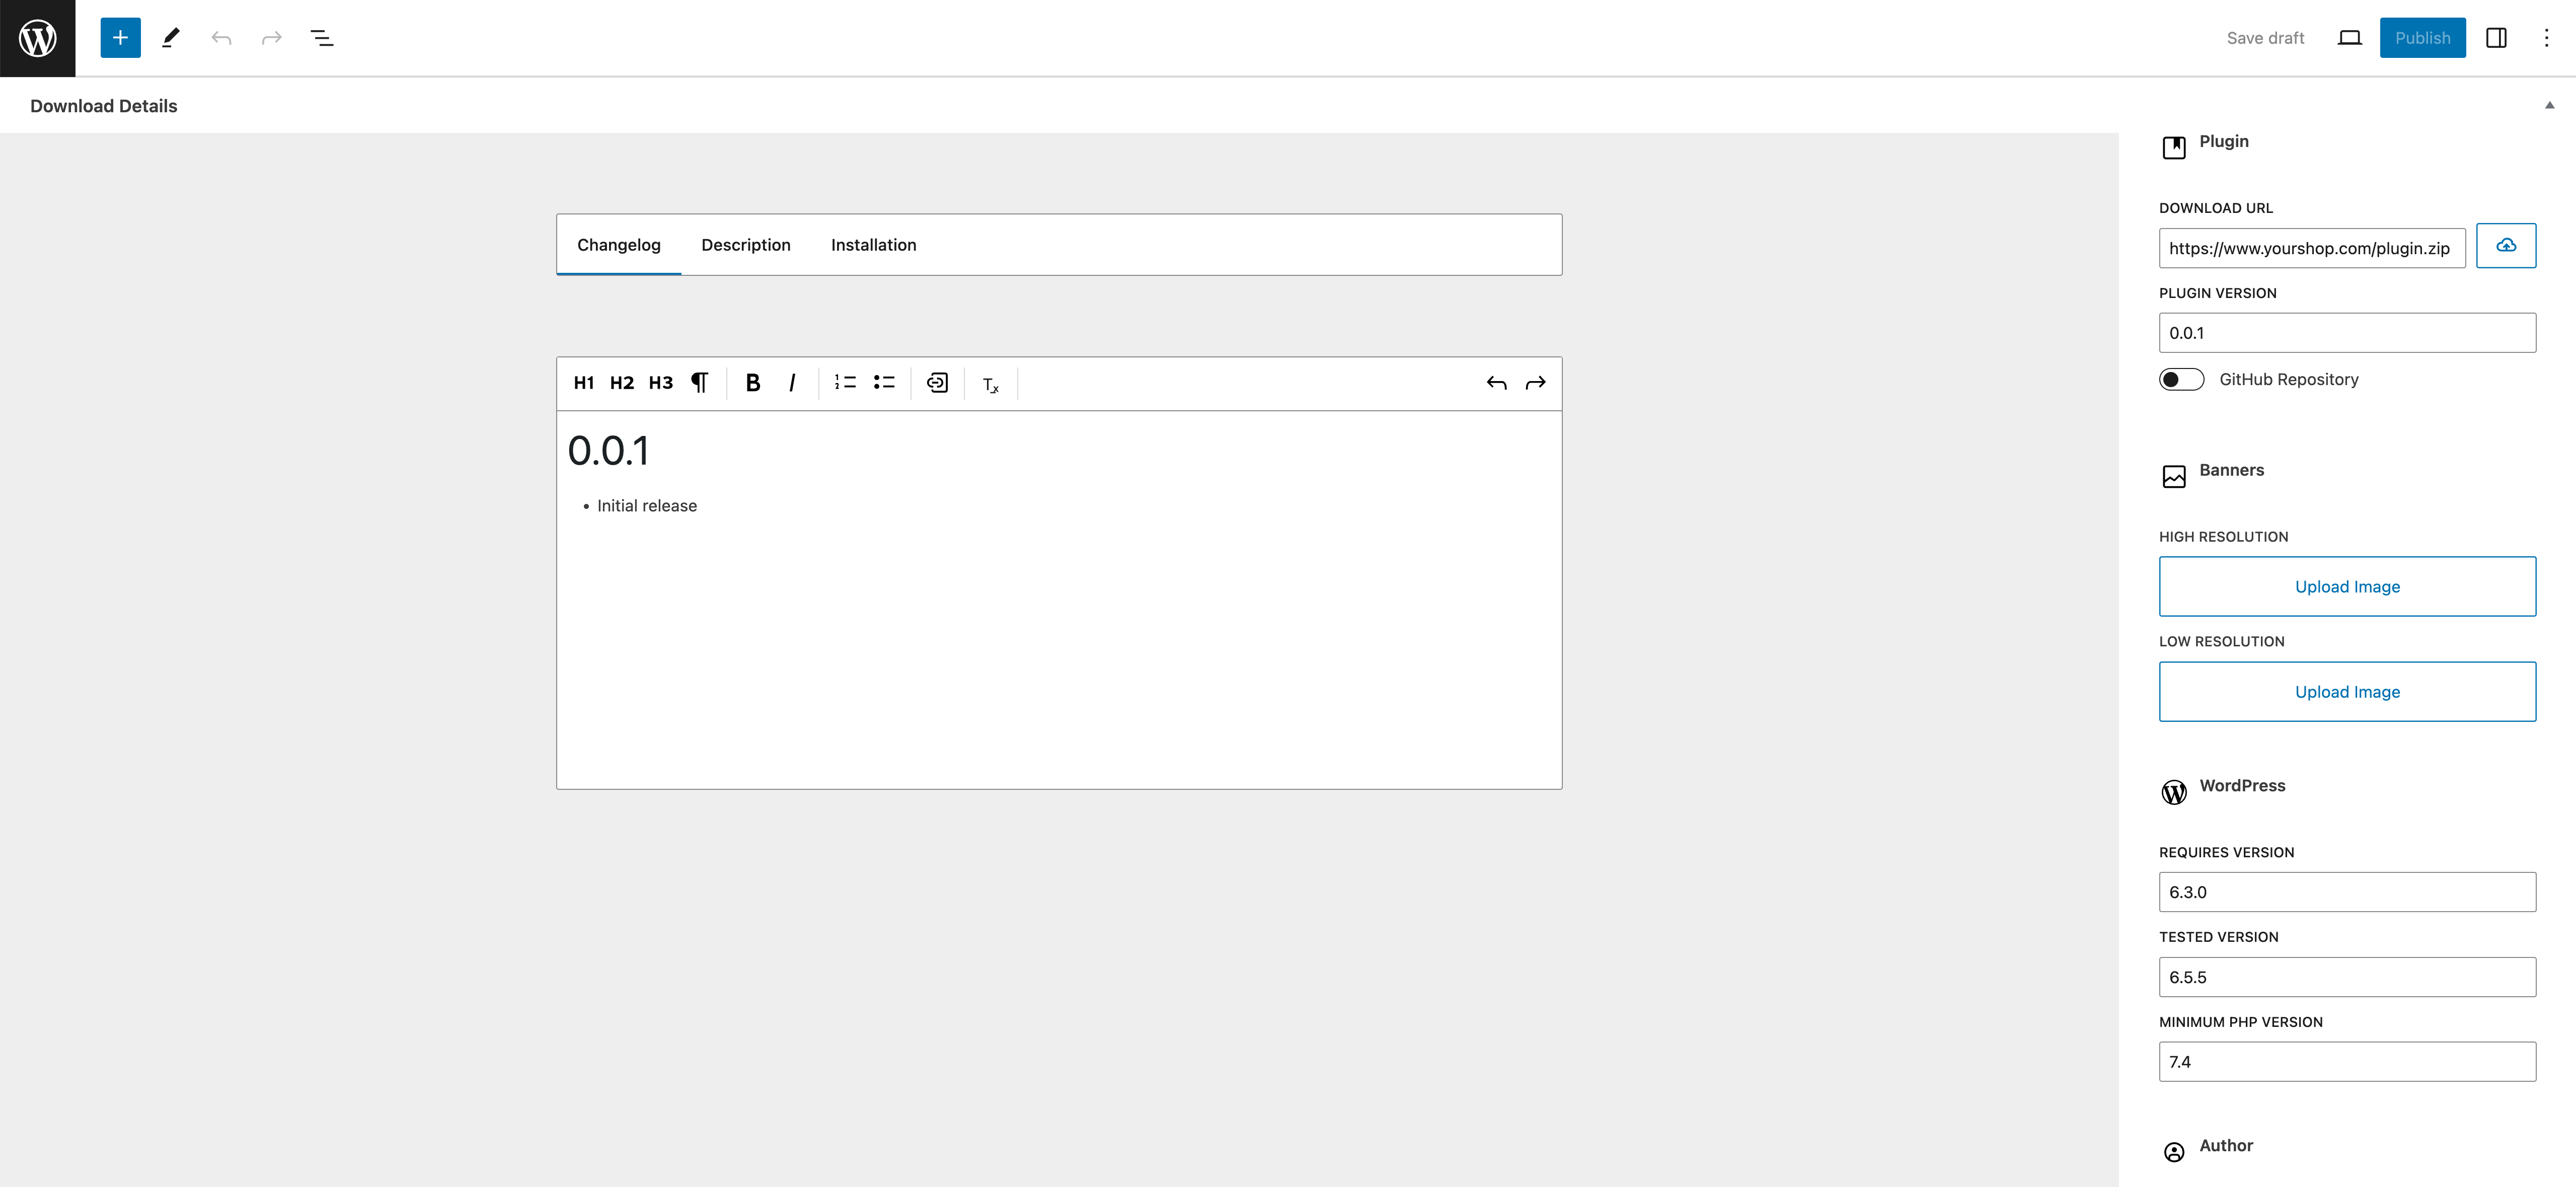
- Automatically populated fields such as the changelog, description, and standard installation process are provided for convenience.
- Initially, you won’t have a ZIP file for the plugin; you’ll need to create one starting with version 0.0.1.
Step 2: Configure Plugin Details
- Versioning: Start with version 0.0.1 and prepare banners and styling (covered in another video).
- Compatibility: Set the required WordPress version (e.g., 6.3) and tested version, which the system fetches from your store.
- Developer Information: By default, the plugin fetches the author information from the admin settings. You can modify this to include your website URL and WordPress profile link.
- Save your initial configuration without making any changes to get started.
Step 3: Add and Configure Files
- Plugin Functionality: Create the basic structure of your plugin by including necessary files. For example, define the background color in the theme’s CSS.
- Update Mechanism: Include an updater PHP file within an ‘inc/’ folder to handle future updates. This setup is crucial for allowing automatic updates through Self-Hoster.
plugin-root-file.php
├── assets/
│   └── style.css
└── inc/
    └── update.php
Step 4: Testing and Deployment
- After setting up the plugin structure and initial files, upload the ZIP file of your plugin to your WordPress environment.
- Activate the plugin and check its functionality. For instance, verify the background color (e.g., olive) appears correctly.
- Modify the plugin as needed. For example, change the background color from olive to red and increase the version number to 0.0.2.
Step 5: Update the Plugin
- Prepare the New Release: Update the plugin files as necessary and adjust the version number in both the plugin files and Self-Hoster configuration.
- Change Log: Update the change log to inform users of the changes and why they might want to update.
- Repackage and Upload: Create a new ZIP file with the updated plugin, upload it to Self-Hoster, and save the changes to bump the version number.
- Push Updates: Once the new version is uploaded and the version number is increased, Self-Hoster will notify user installations of the available update.
Step 6: User Updates
- Users will see an update notification in their WordPress dashboard. They can view the plugin details and the updated change log.
- By clicking Update, users can easily apply the new version to their websites.
By following these steps, you can effectively manage and distribute your custom plugins or themes using the Self-Hoster platform, ensuring smooth updates and consistent performance across multiple client websites.